Introduction
Cloud skills have become ubiquitous in most ML roles these days; setting up and executing machine learning workflows, to collaborating with team members, concurrently working on multiple models, and deploying them in the cloud are now common requirements. Moreover, companies and/or clients are often in need of individuals who are capable of delivering end-to-end ML solutions.
So, in this article, we will learn how to get started with cloud platforms by creating a GCP Compute Engine instance, a virtual machine service offered by Google and on the Google Cloud Platform.
Before You Begin: GCP Pricing
GCP offers a generous 300$ in credits and free usage of its (certain) cloud services for the first 90 days, which is more than sufficient to learn, build and get comfortable with the platform.
Before you begin, please make sure you thoroughly read the T&C to use GCP Compute Engine and understand the pricing structure here
Create a GCP Compute Engine Instance
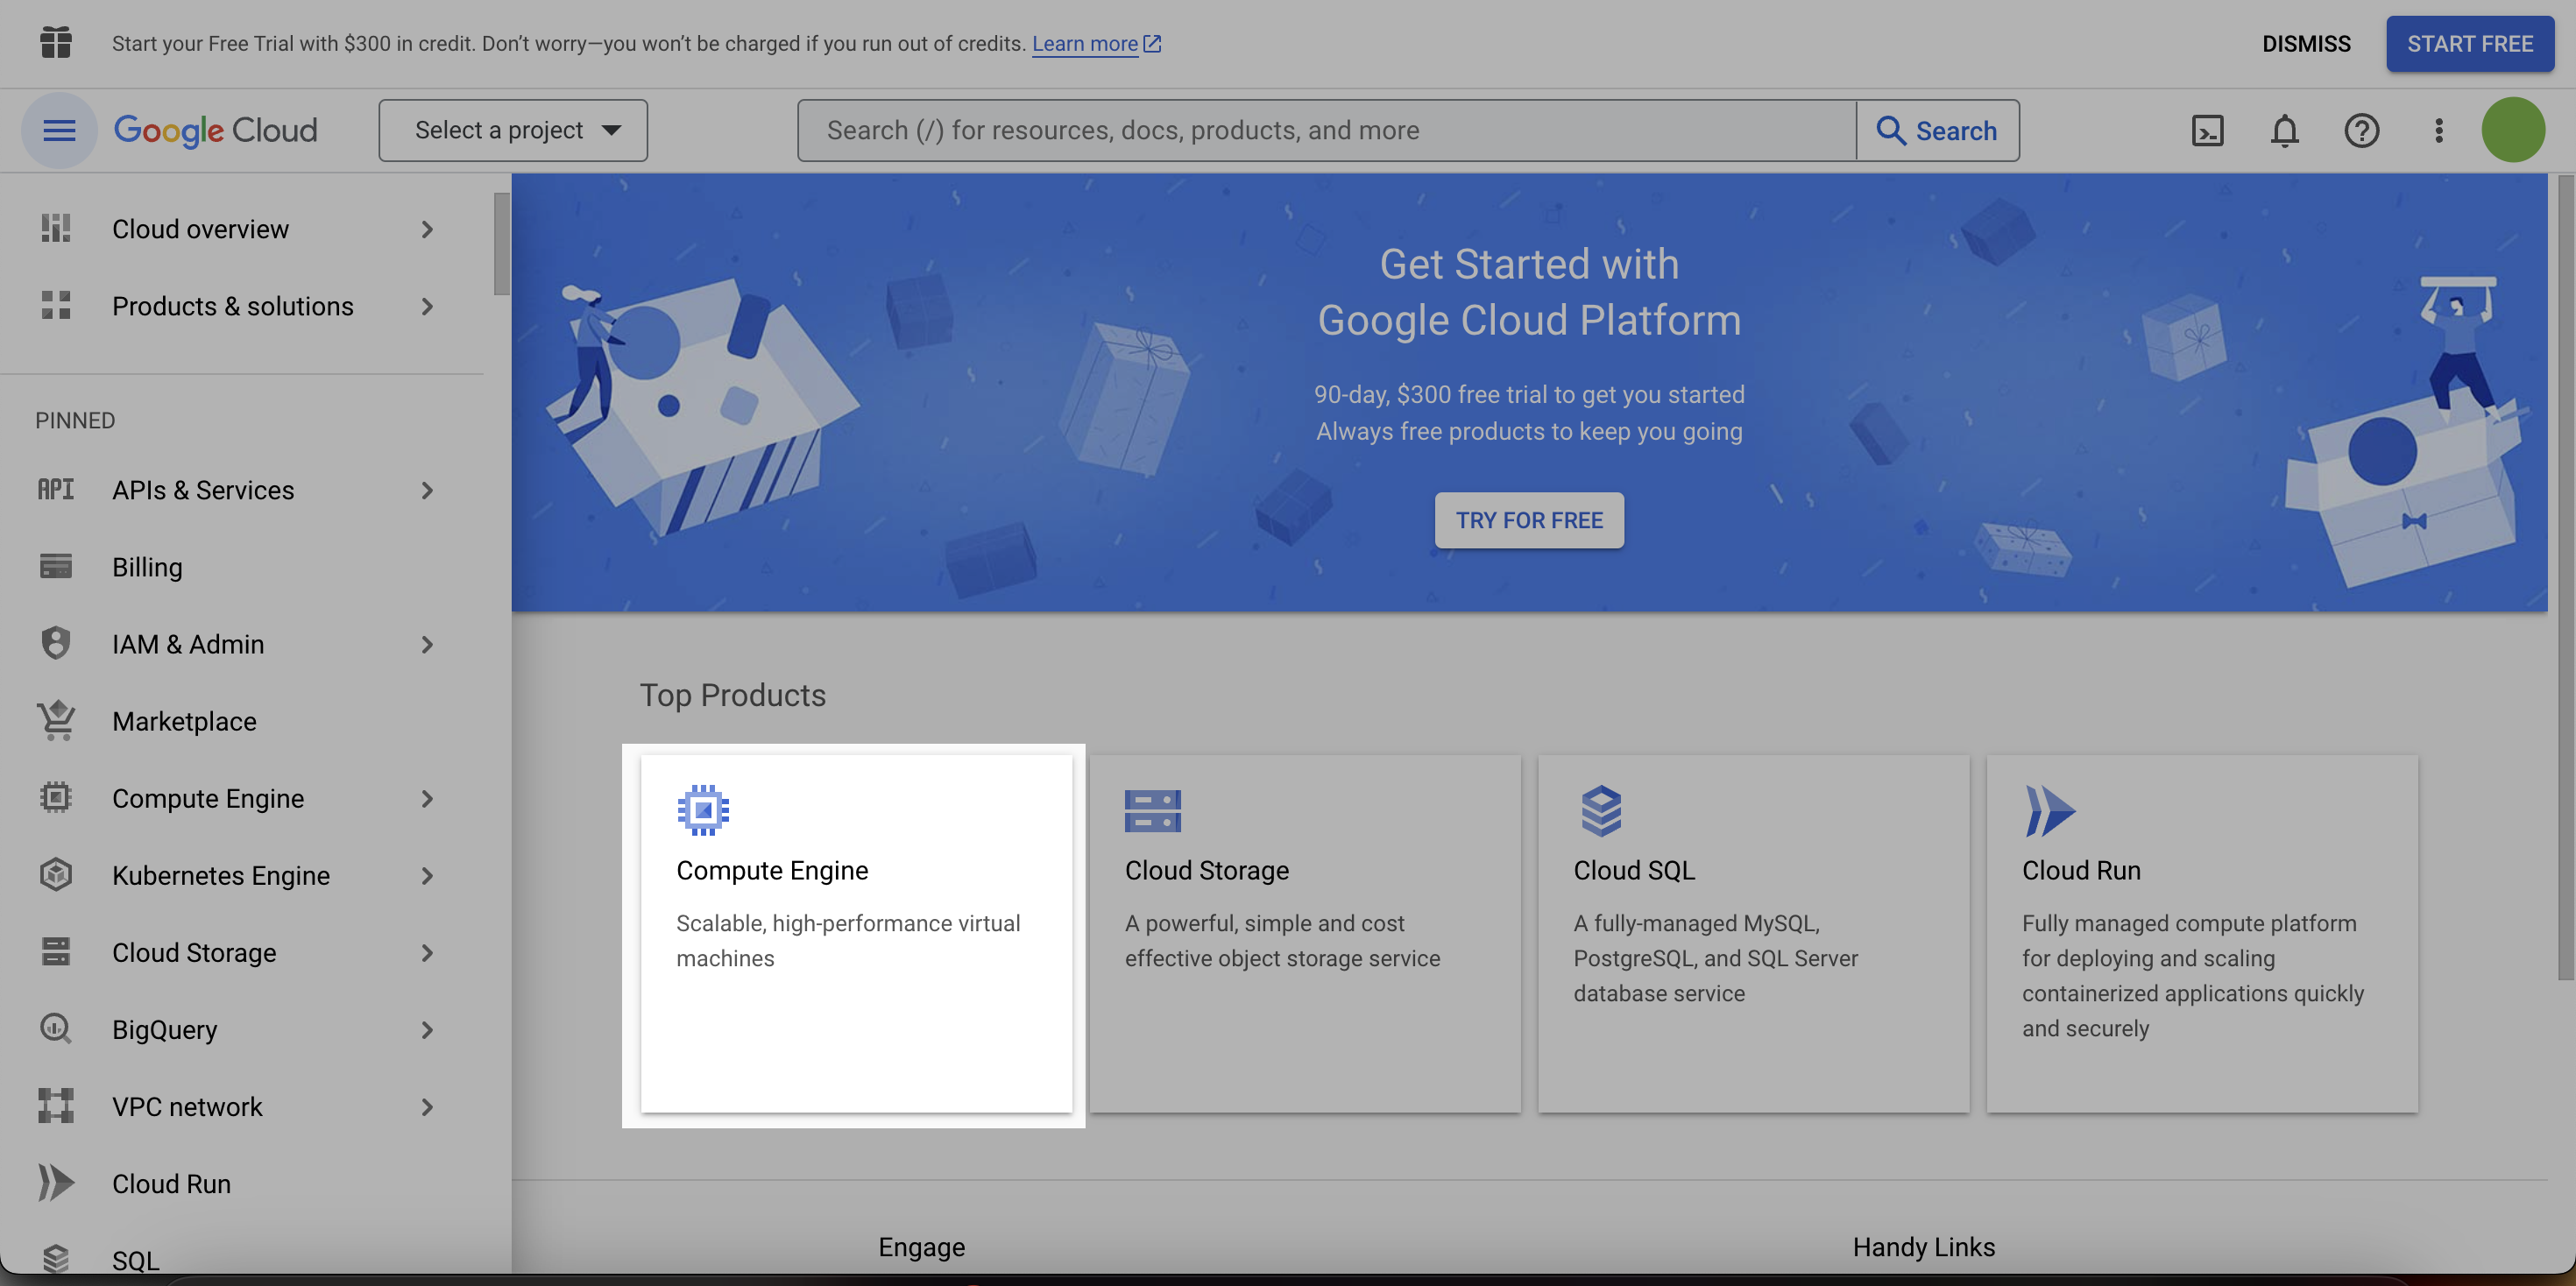
1. Go to the Google Cloud Console dashboard and click Compute Engine.
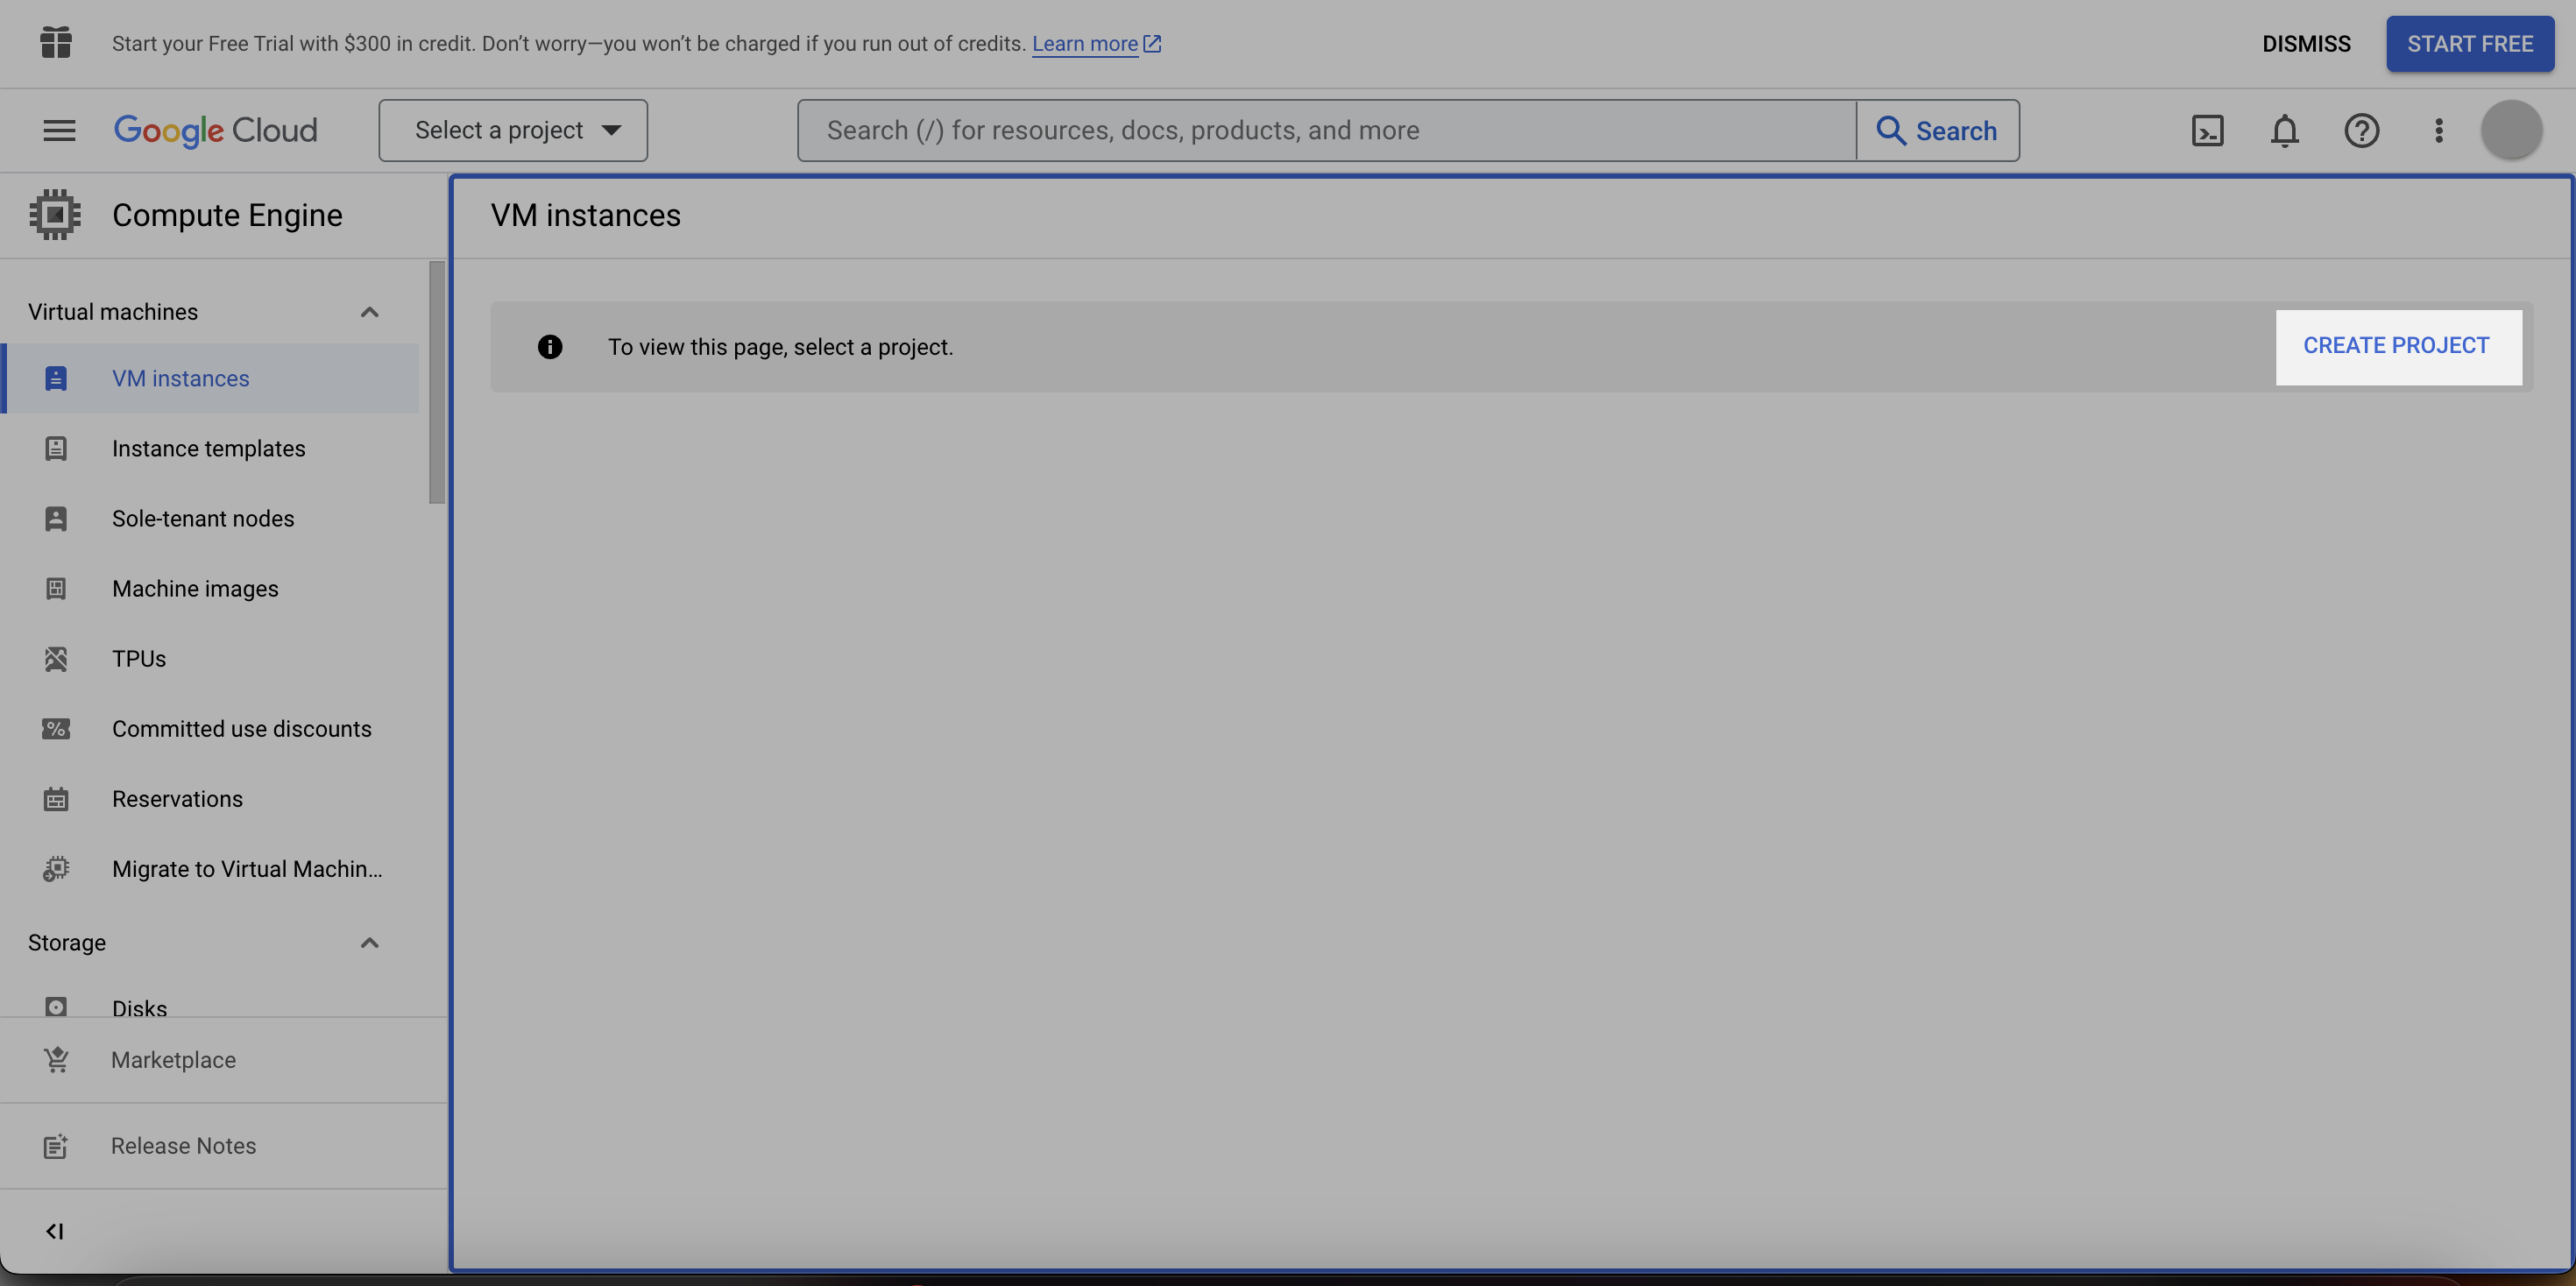
2. You’ll be prompted to create a project to use GCP services and resources. Click Create Project.
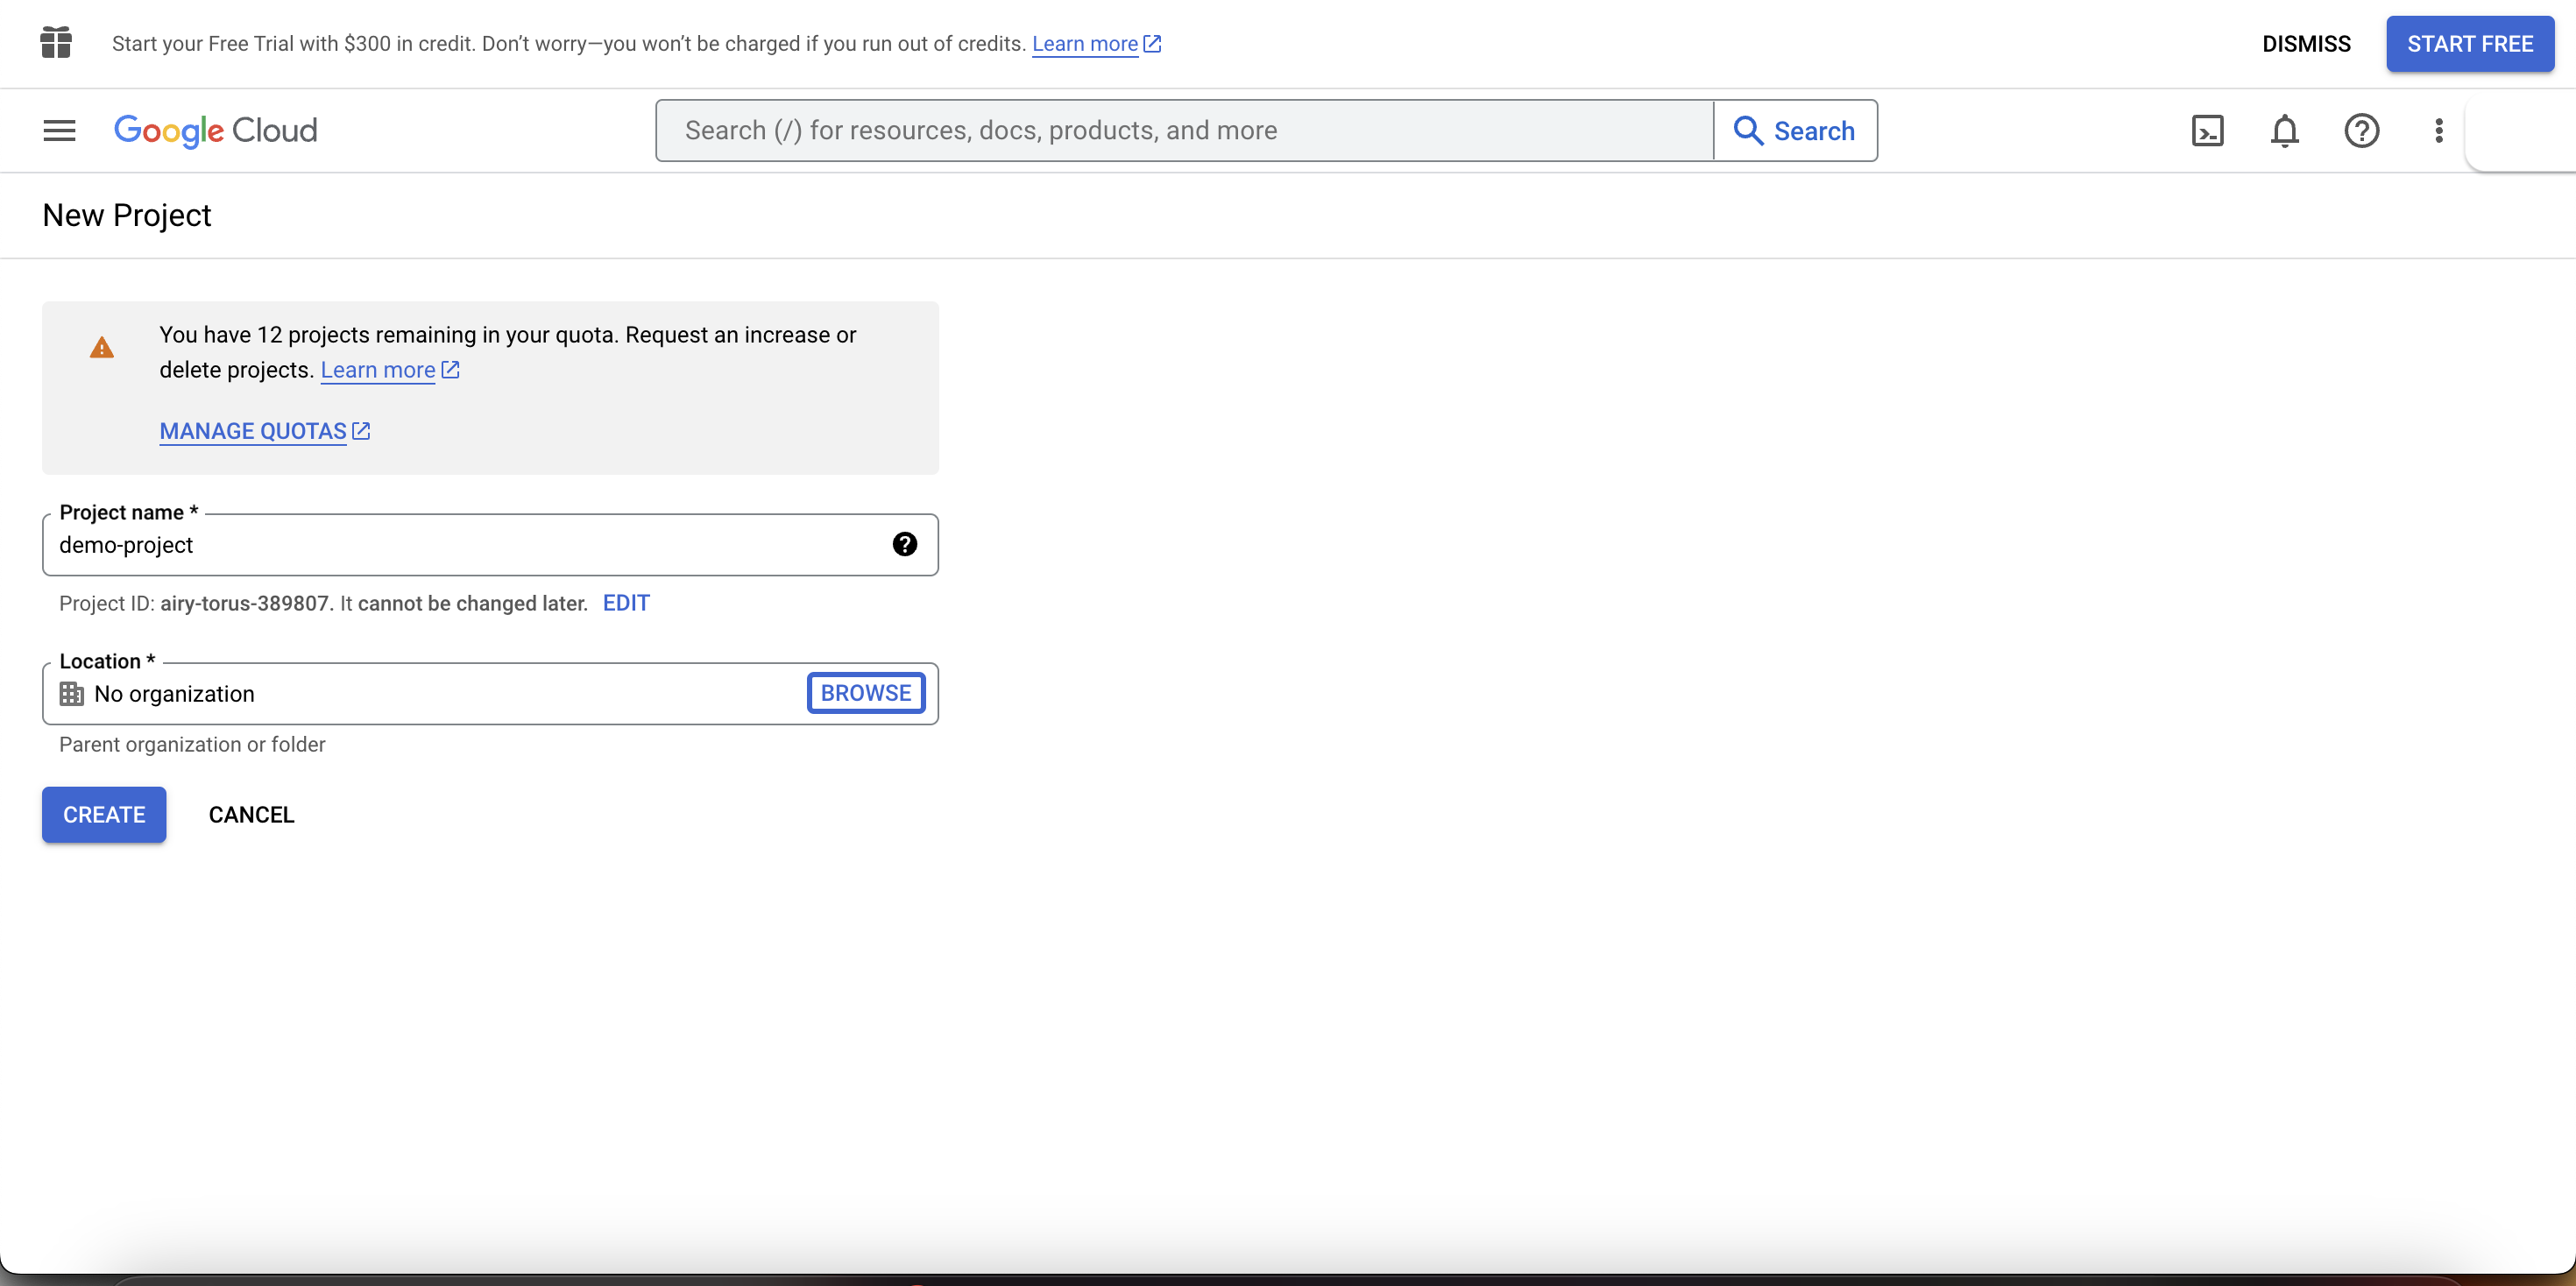
3. Enter a name for your project and organisation details (optional).
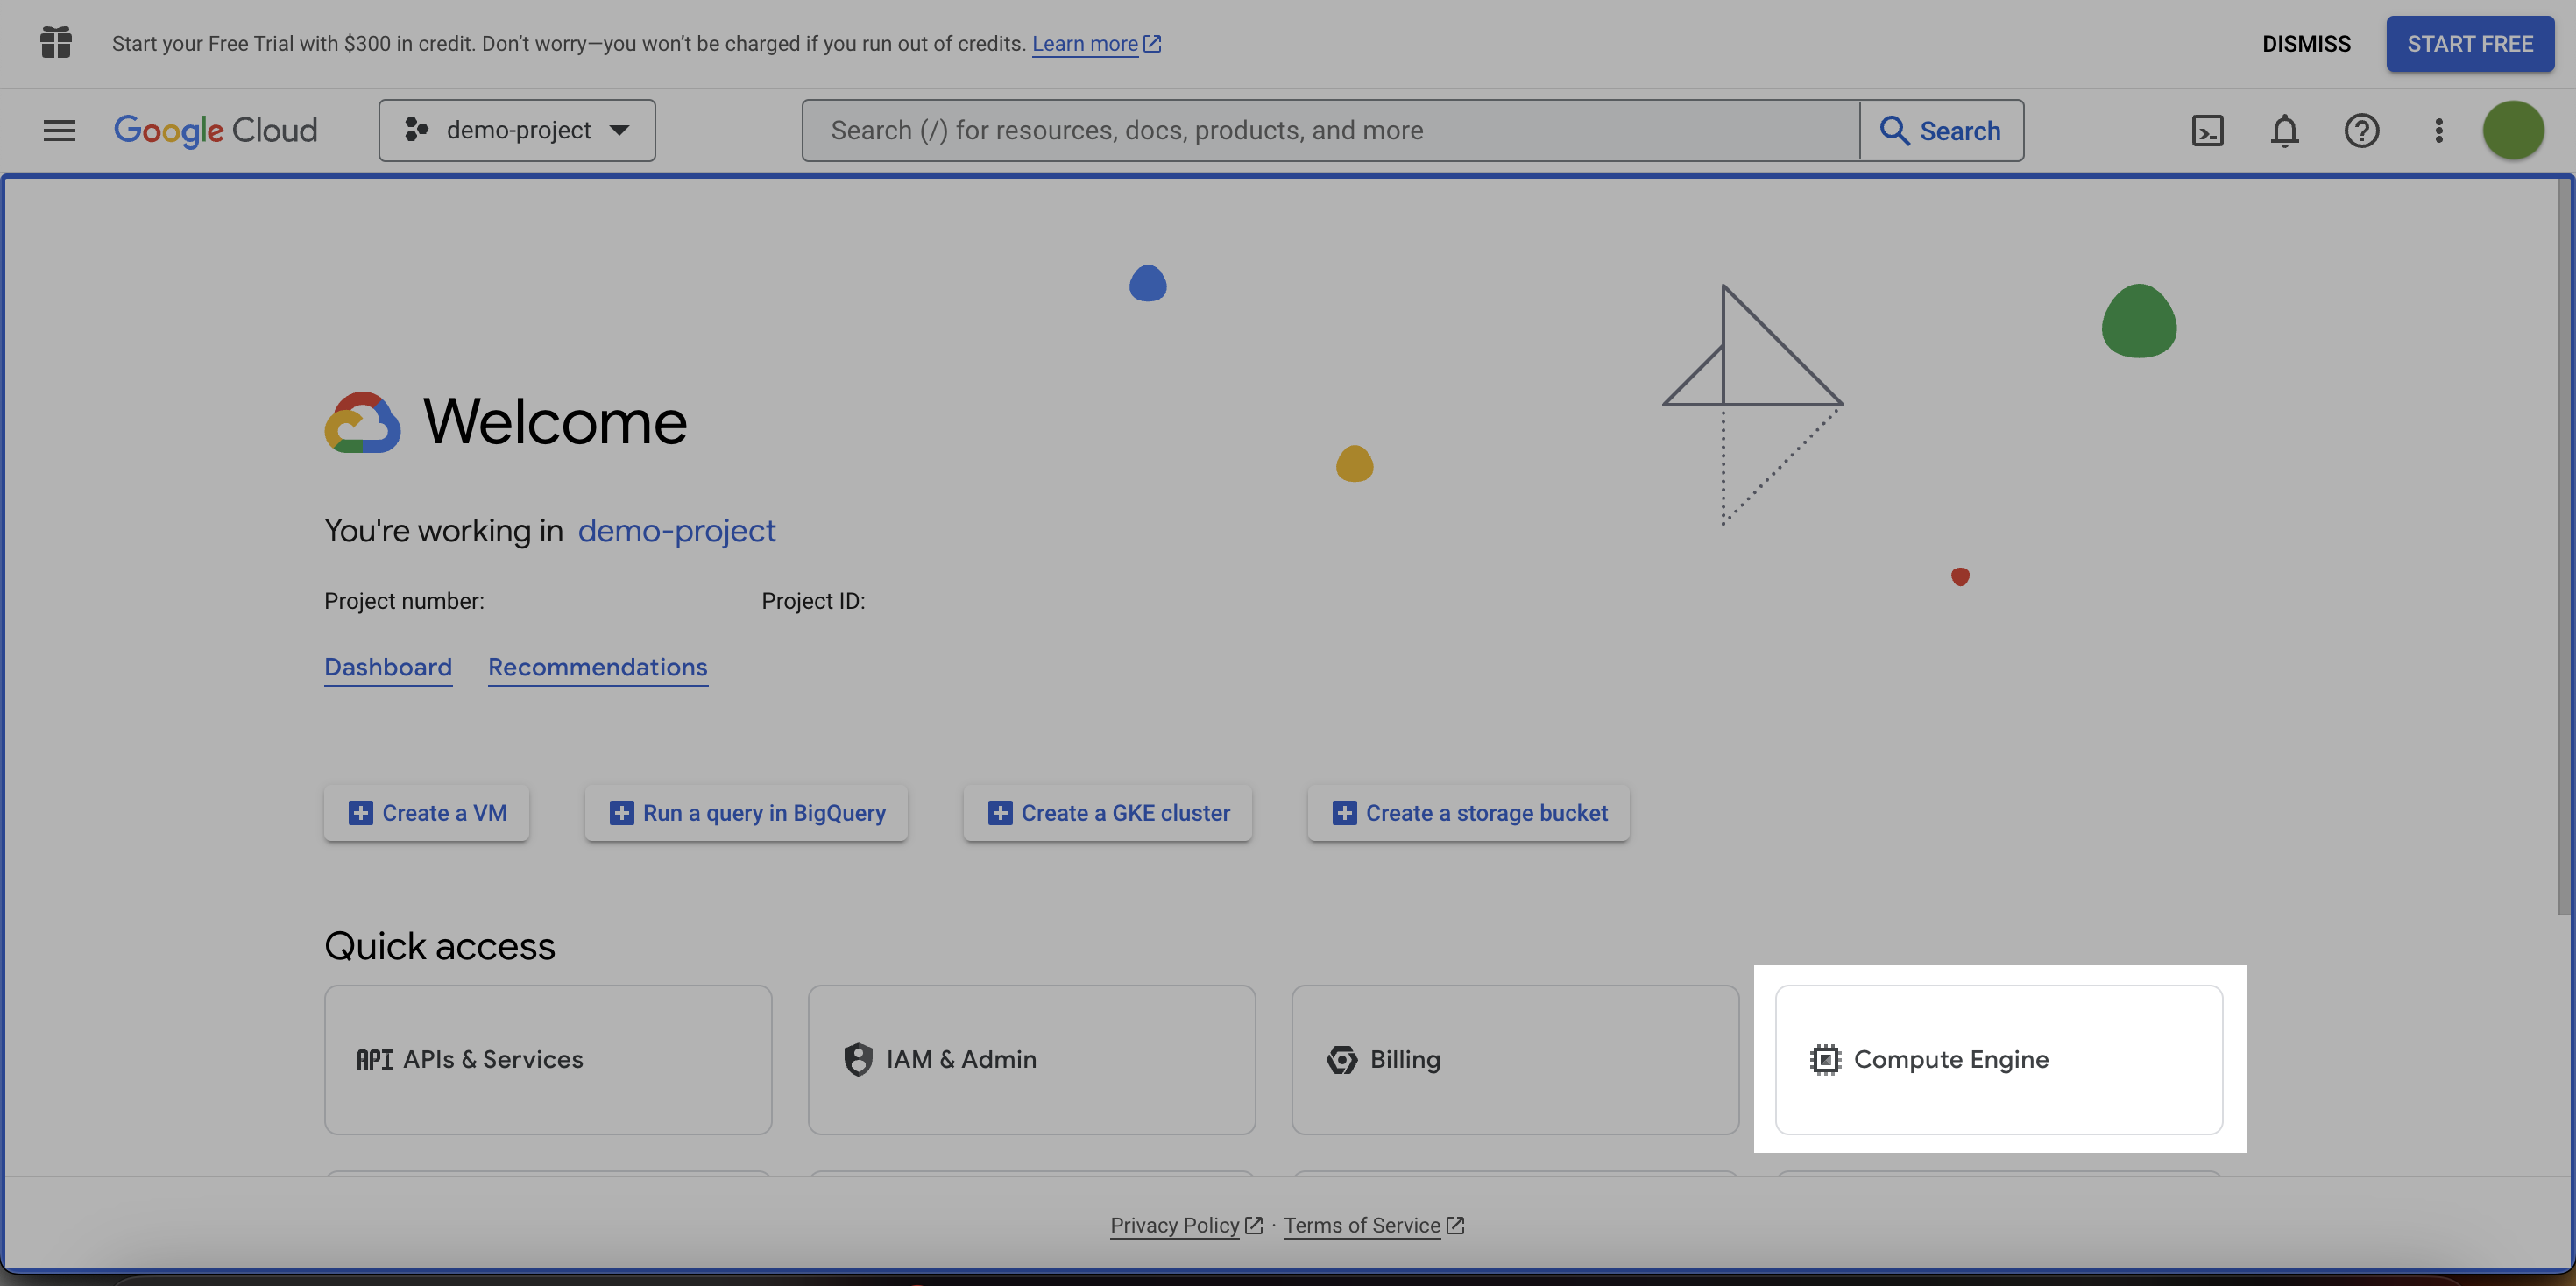
4. After your project is created, you should see something like this; click Compute Engine again.
5. You’ll be taken to the Compute Engine API page where you have to click Enable. You’ll be asked to set up a billing account and sign up with your credit card to start the free trial. Read more about free trial here.

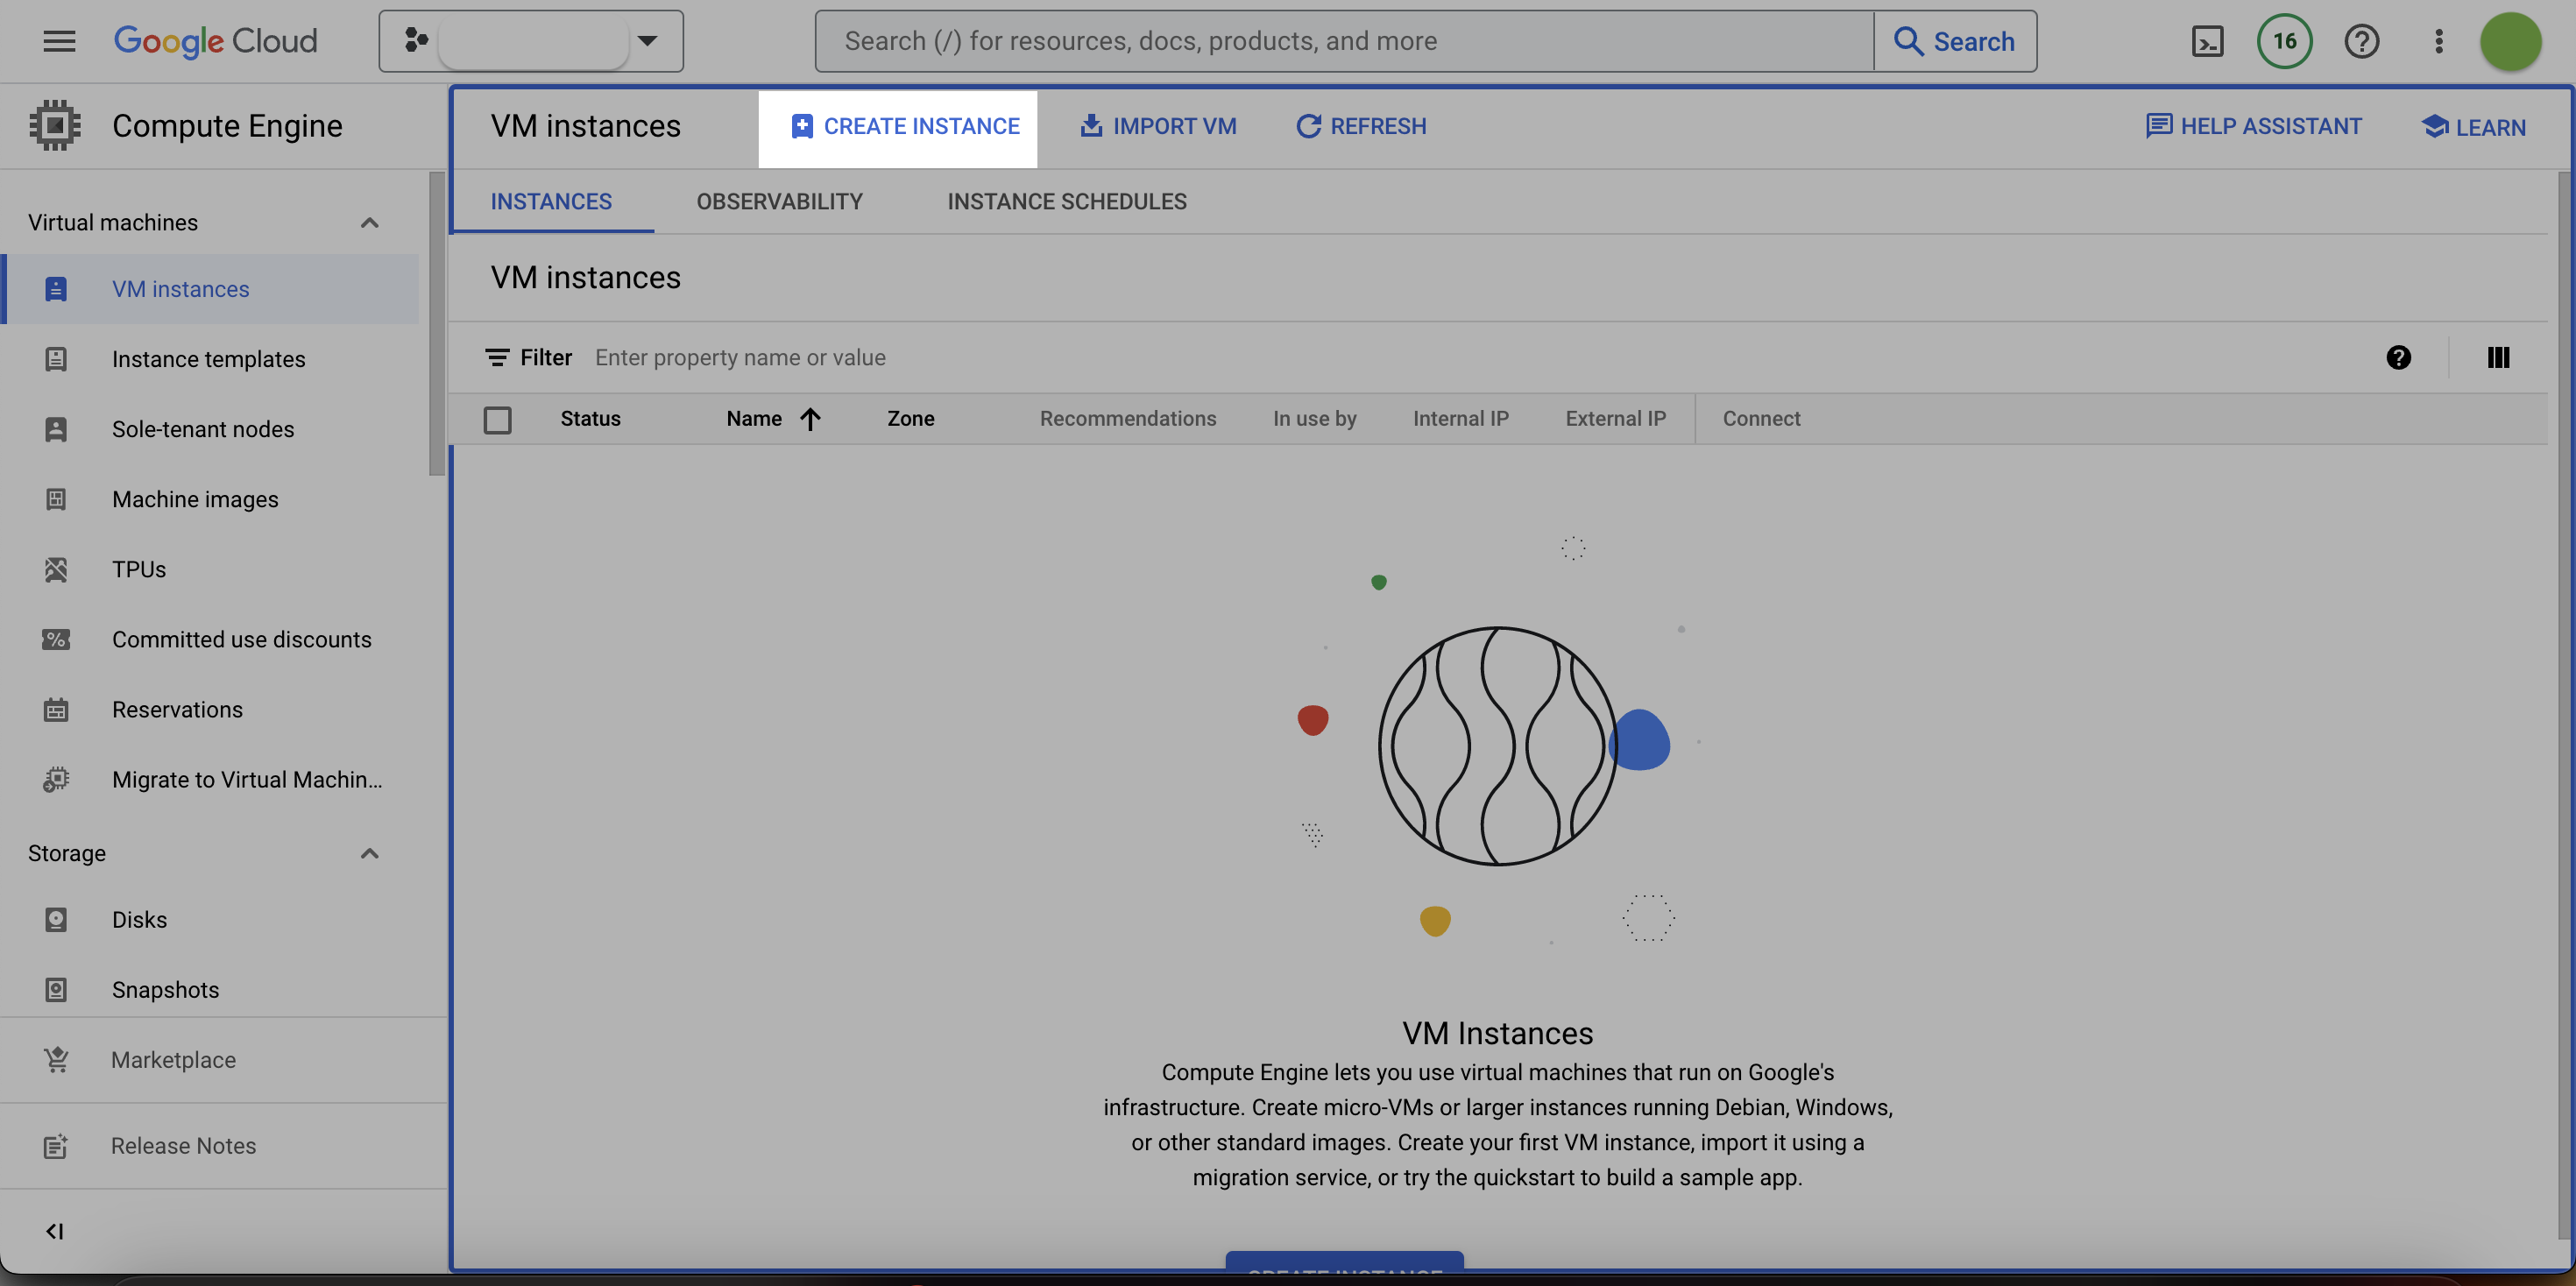
6. After setting up your billing account, you can continue to set up your CE instance. Locate VM Instances on the Compute Engine page; it should look something like this; click Create Instance.
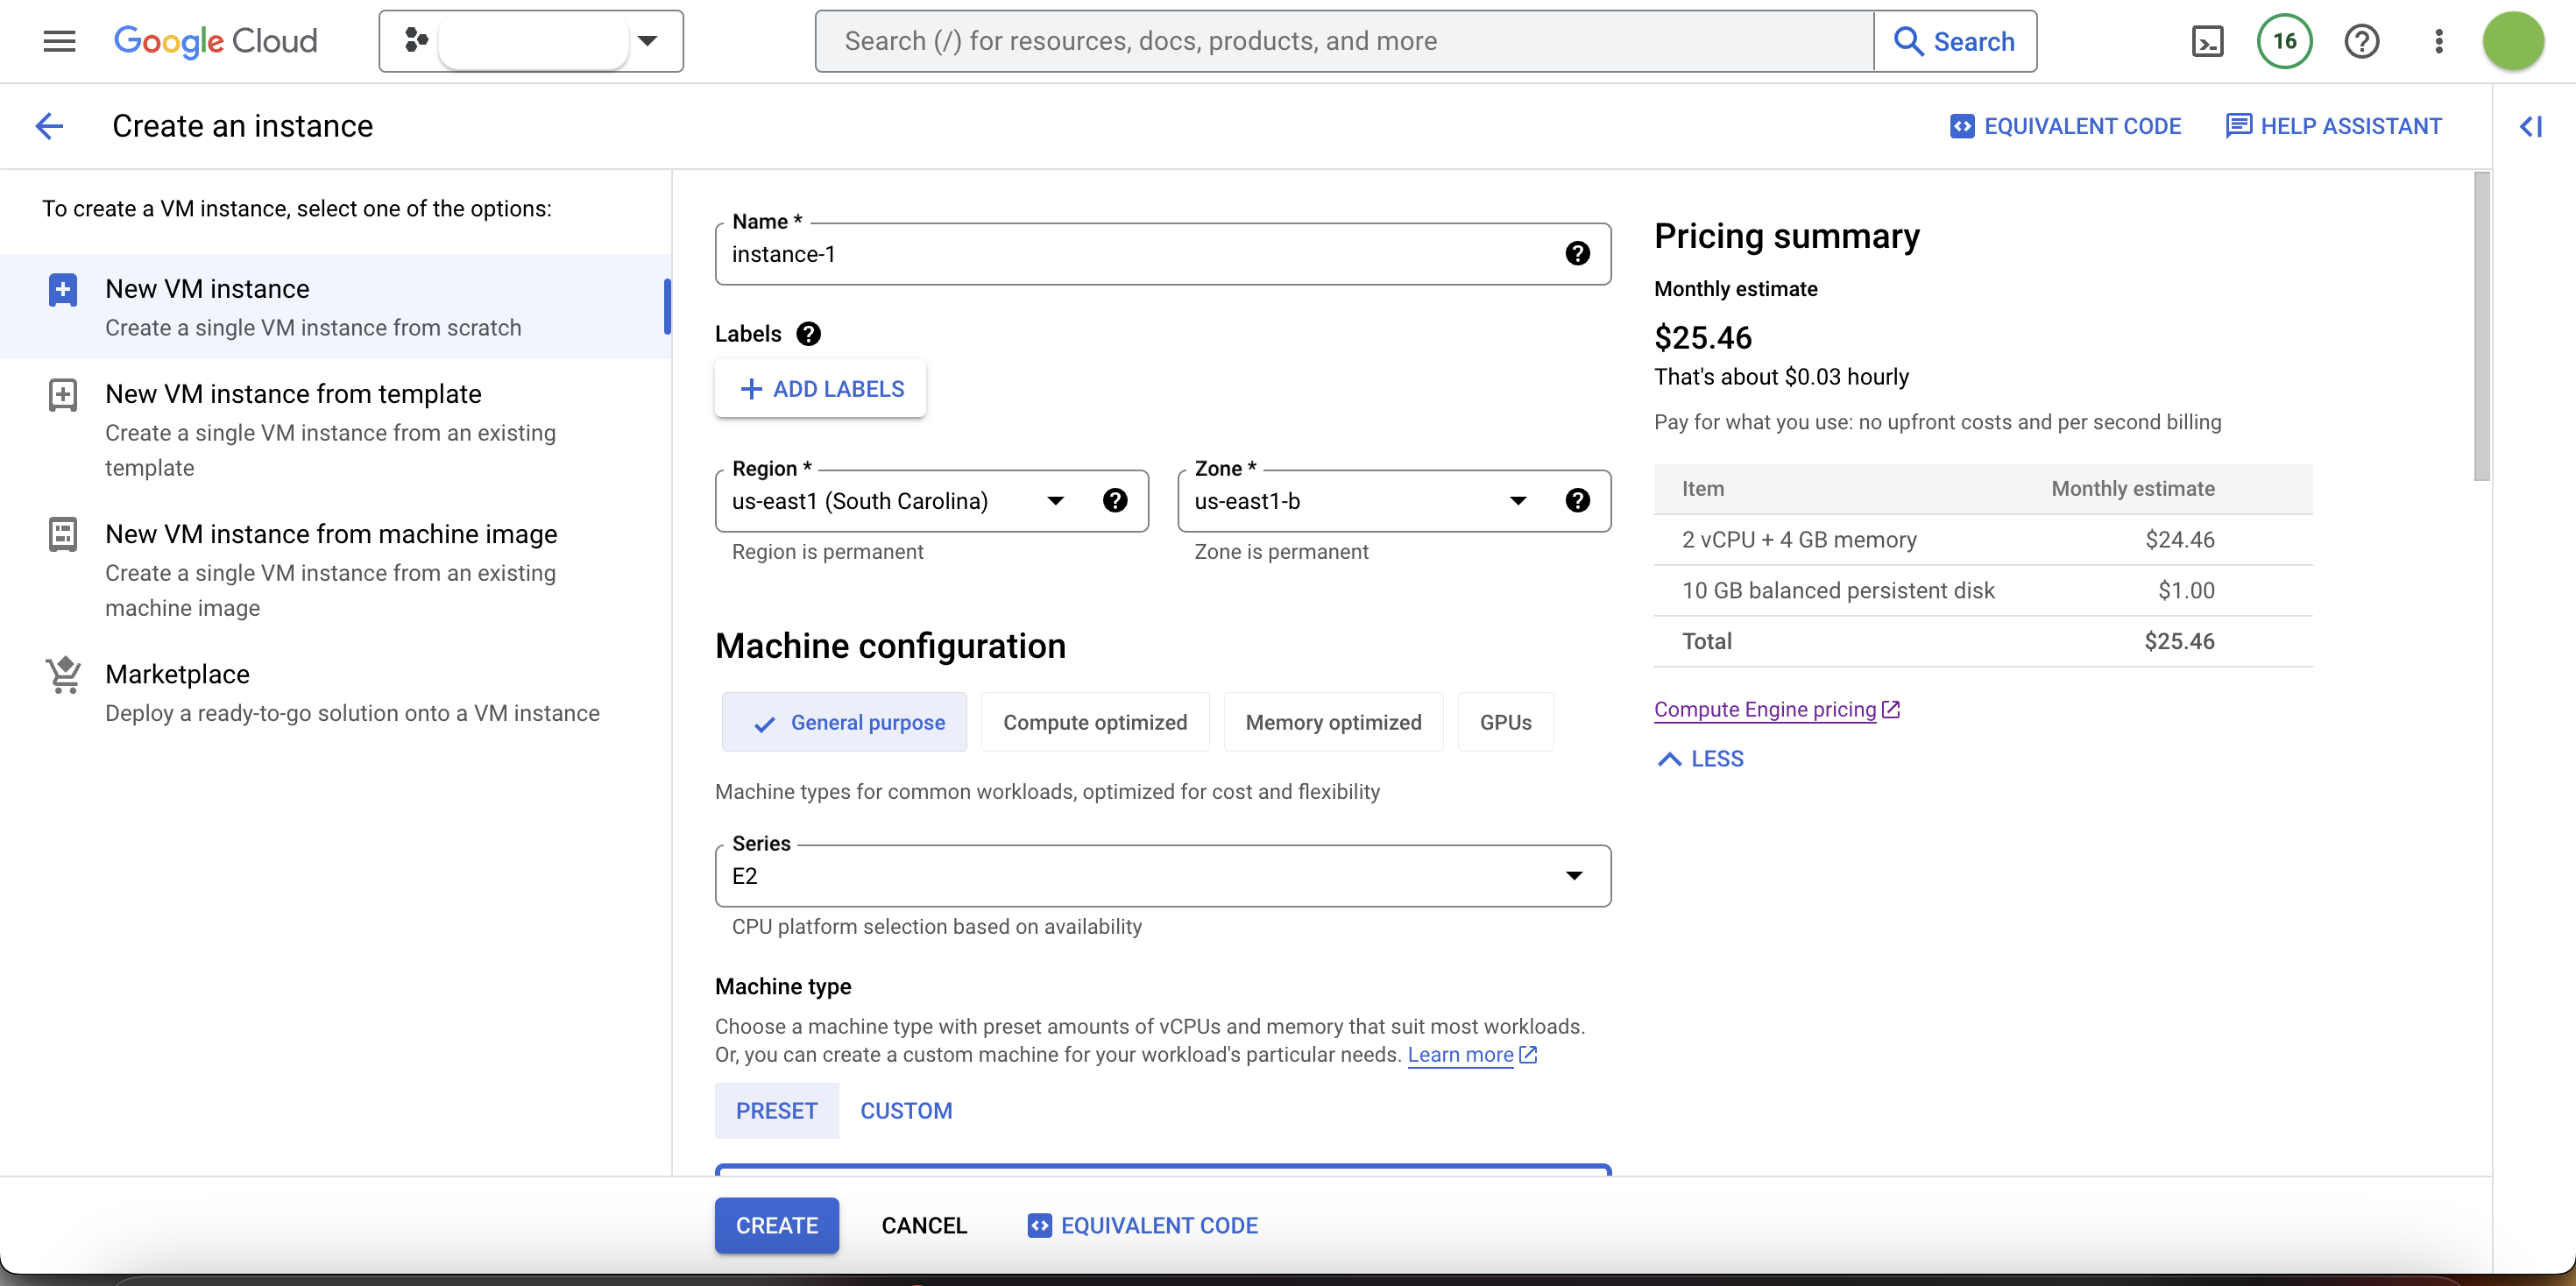
7. Enter a name for your instance; choose a region. The hourly amount varies depending on the region chosen. I’ve found that South Carolina and Iowa regions are charged less; feel free to try different options and look at the pricing.
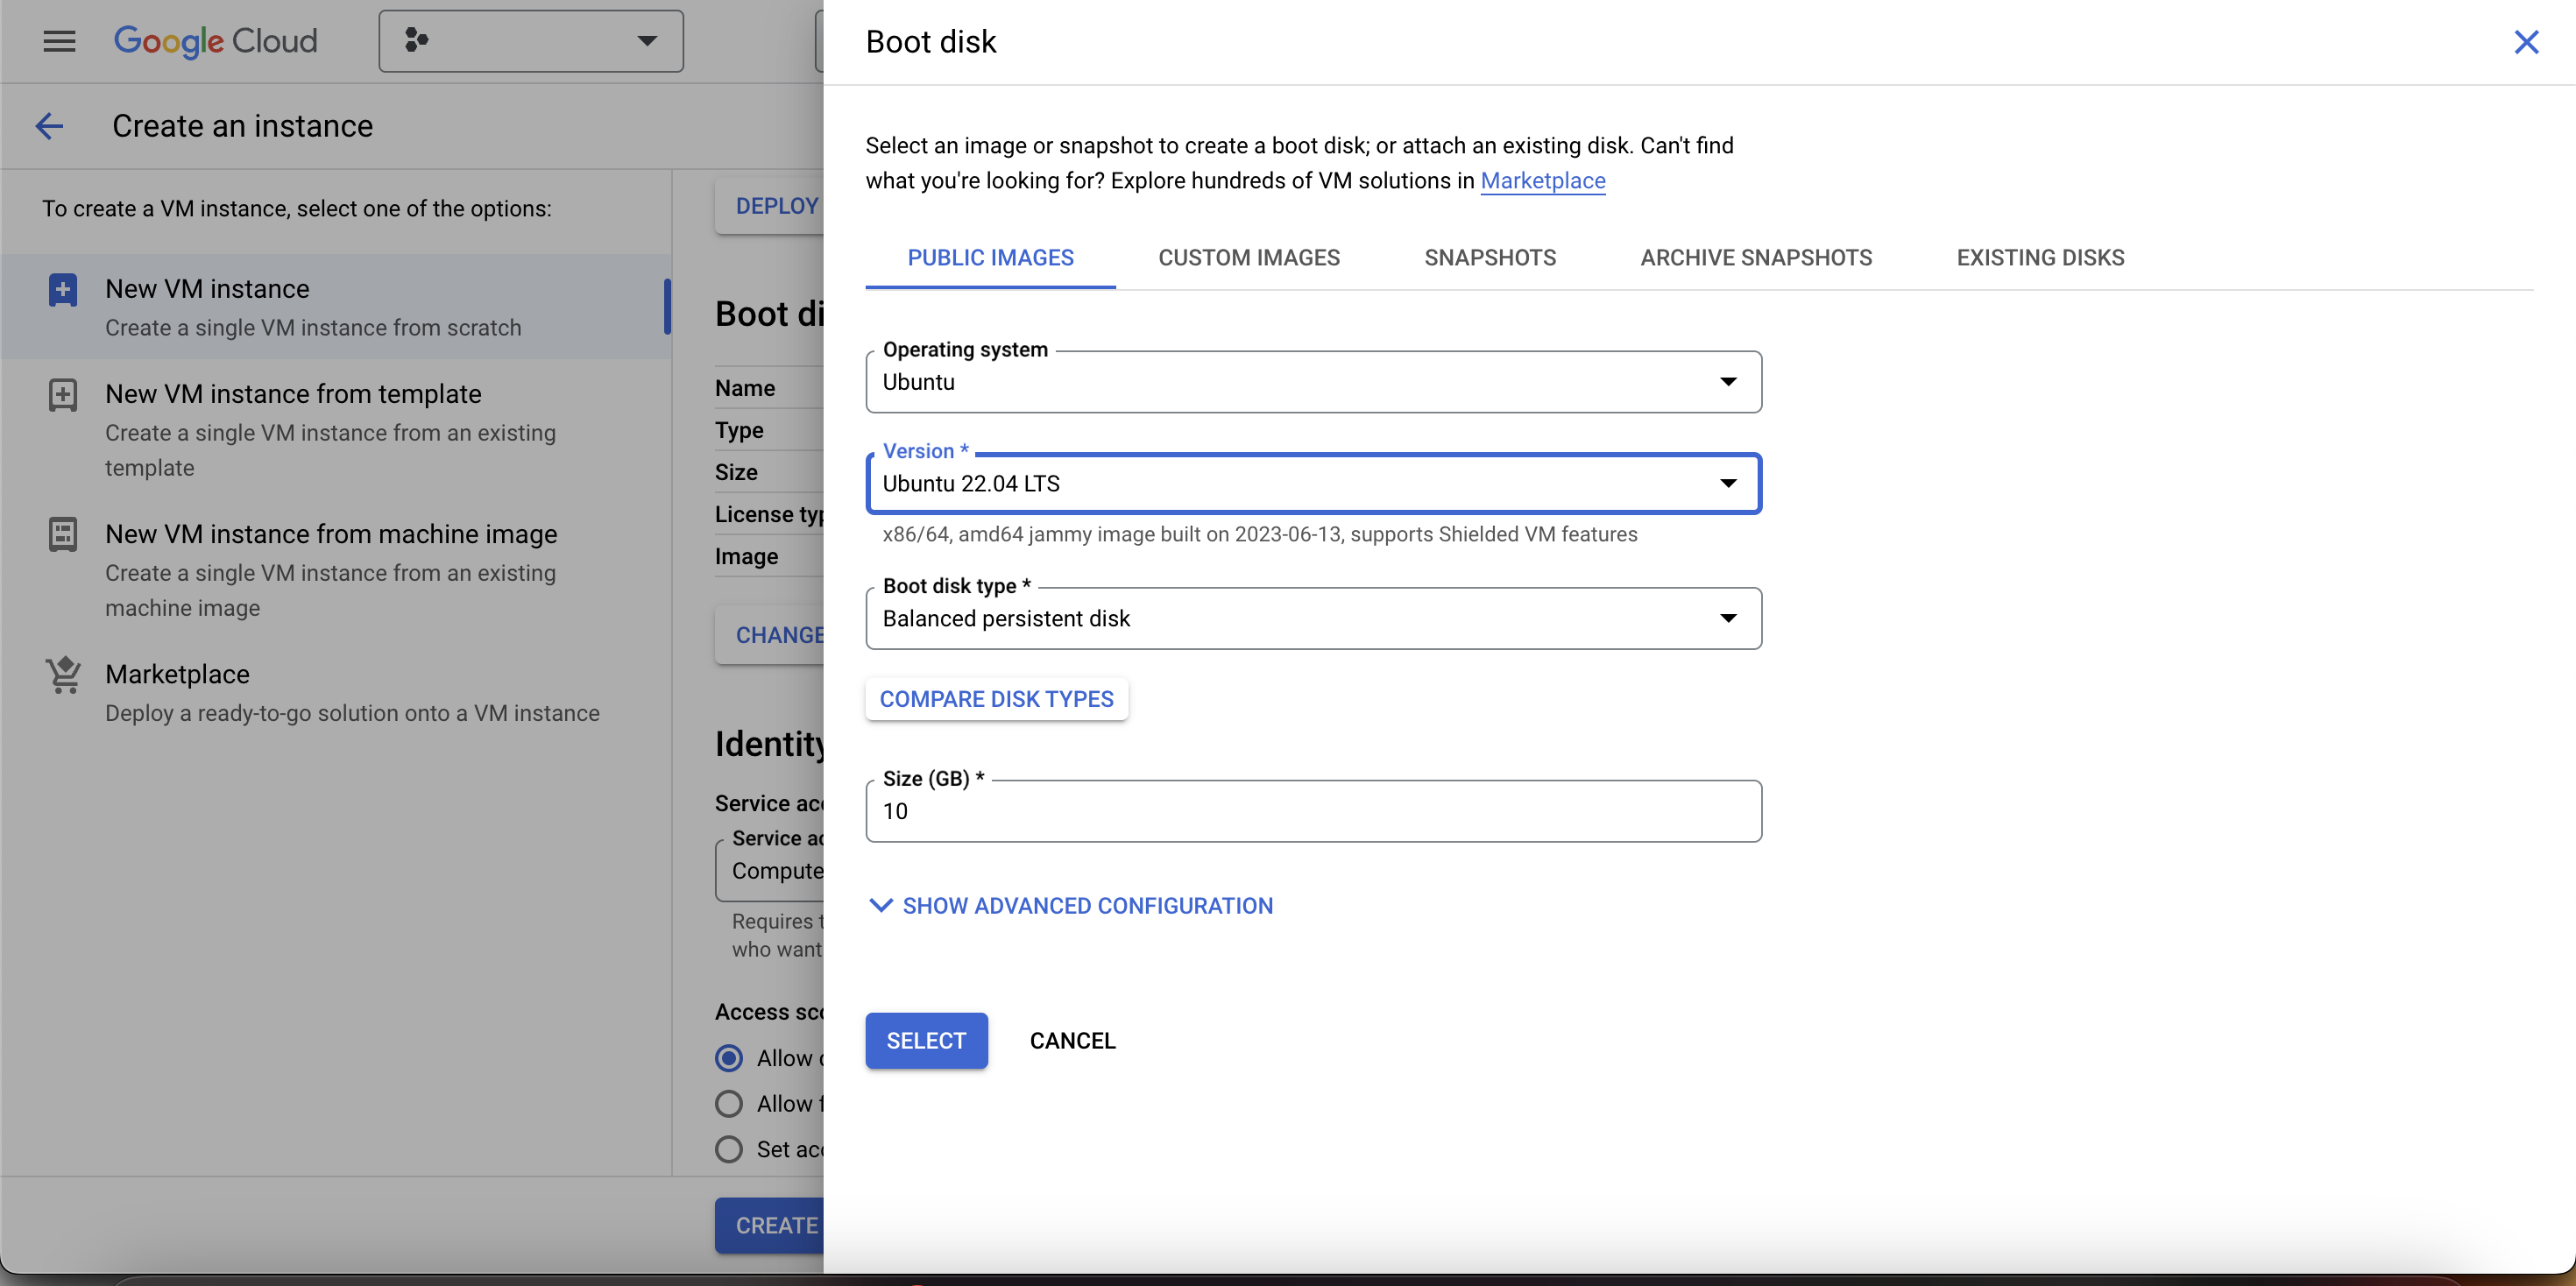
8. Scroll further down to Boot Disk to set up your OS. Select Ubuntu for the operating system and Ubuntu 22.04 LTS version. Click Select.
9. Scroll further down to the Firewall section. Select one or both options.
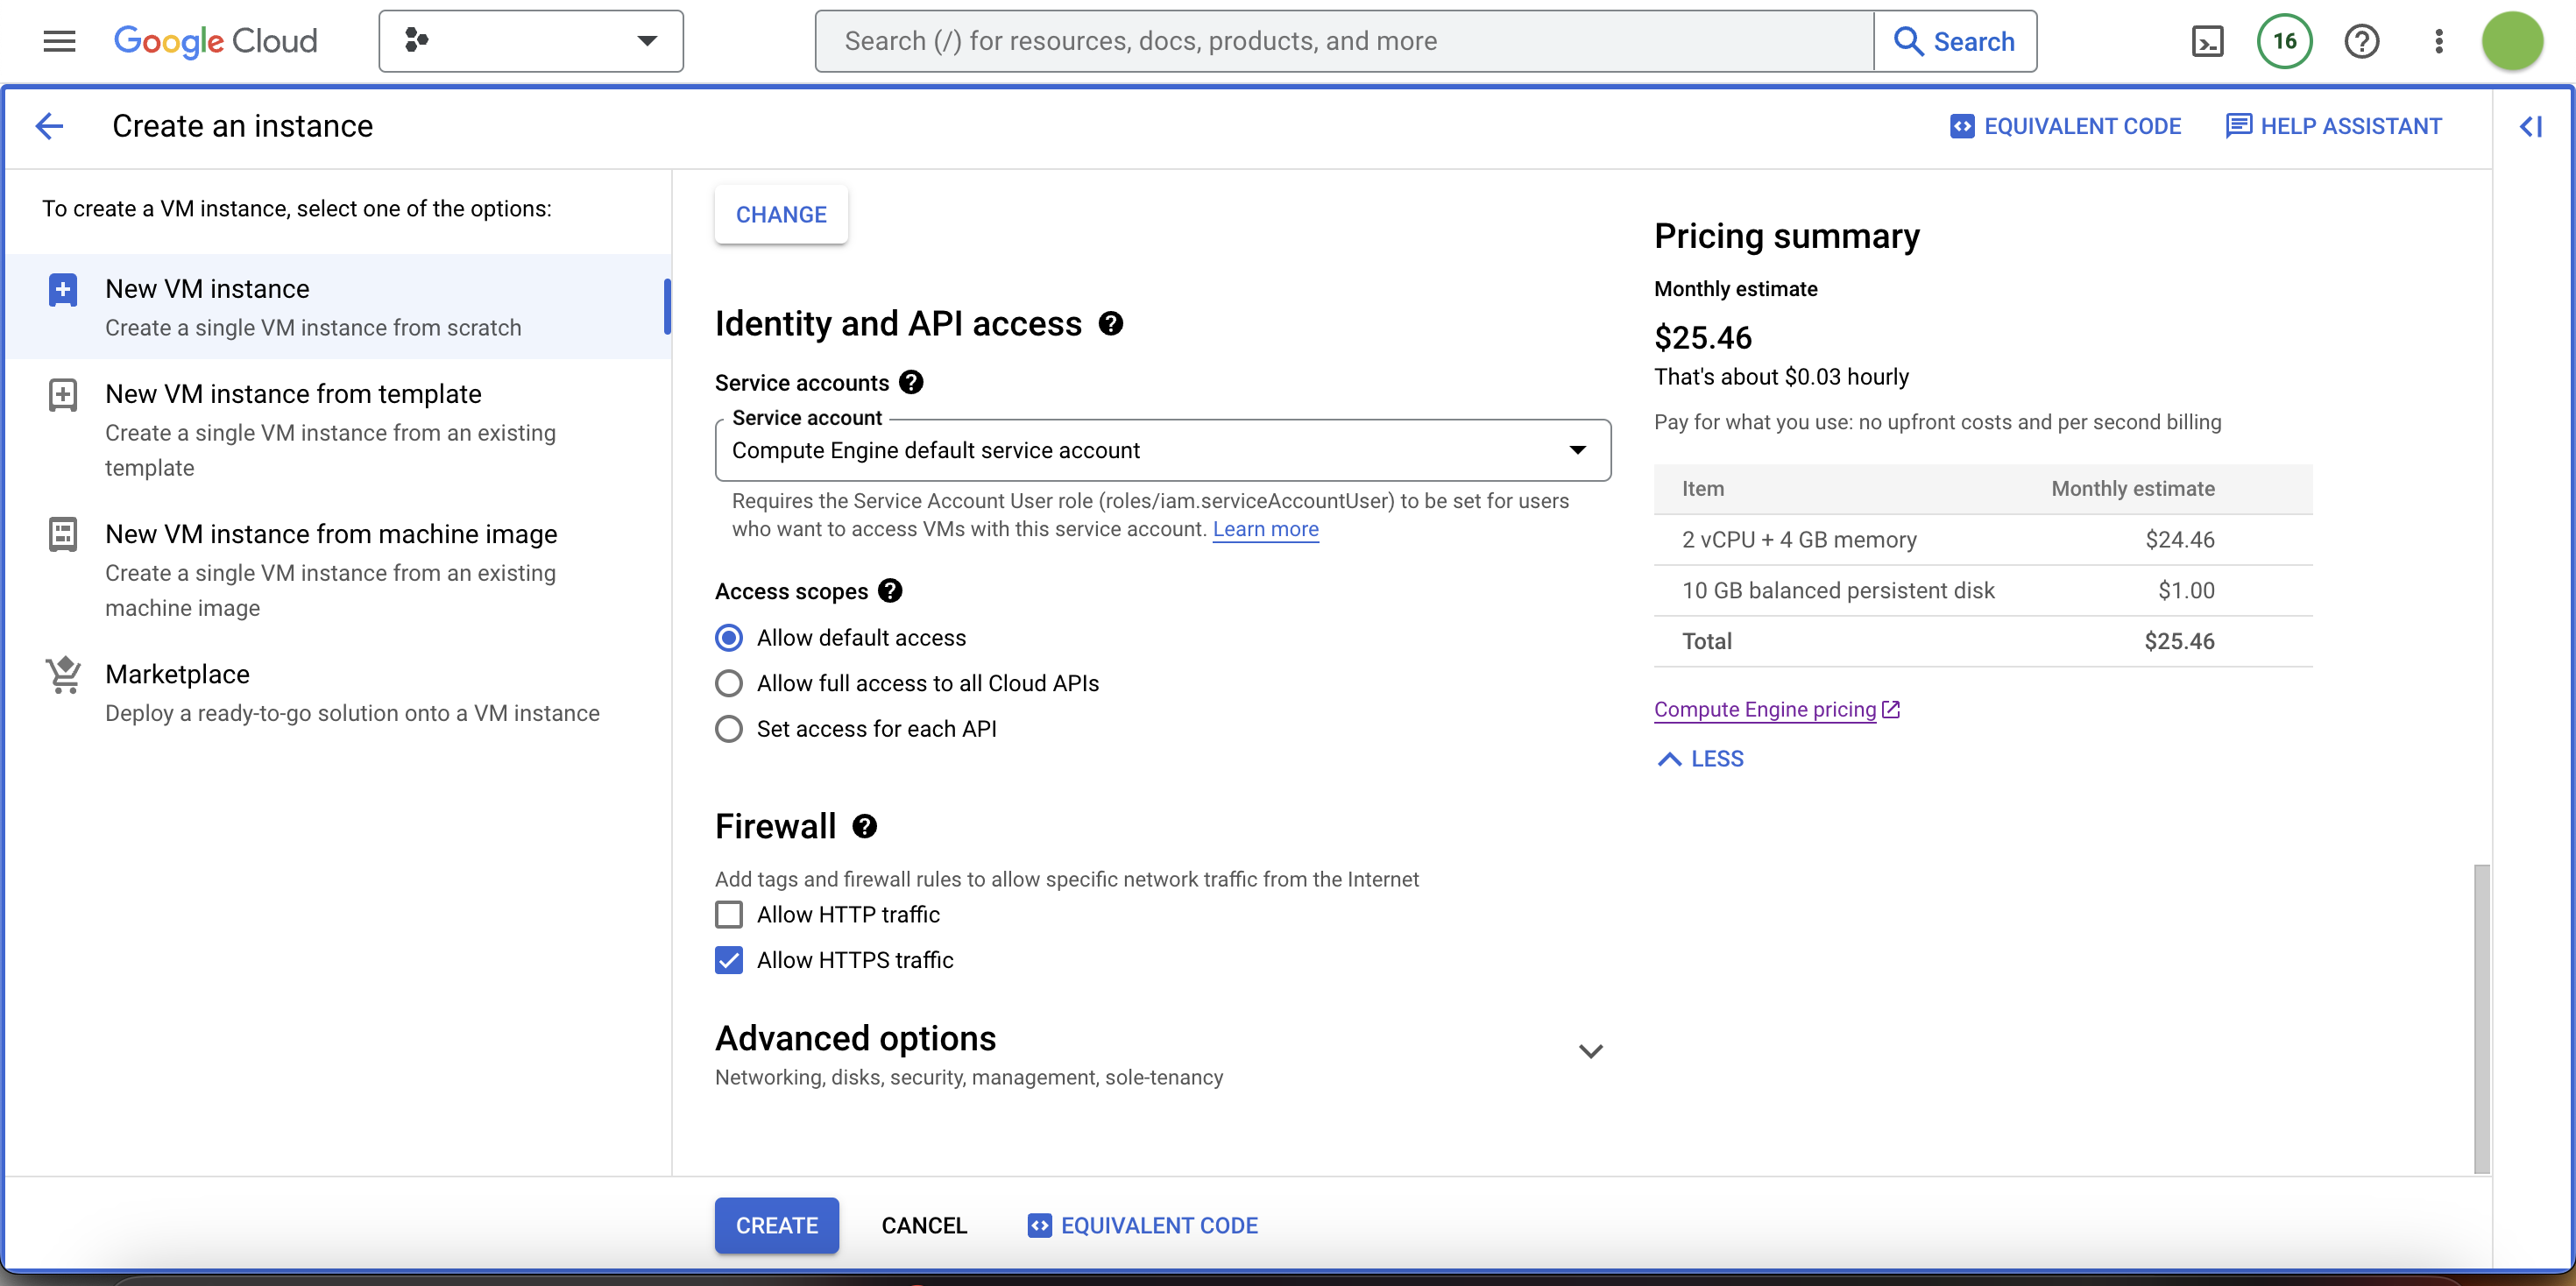
10. Click Create and wait a couple of minutes for your Google Compute Engine instance to finish set up.
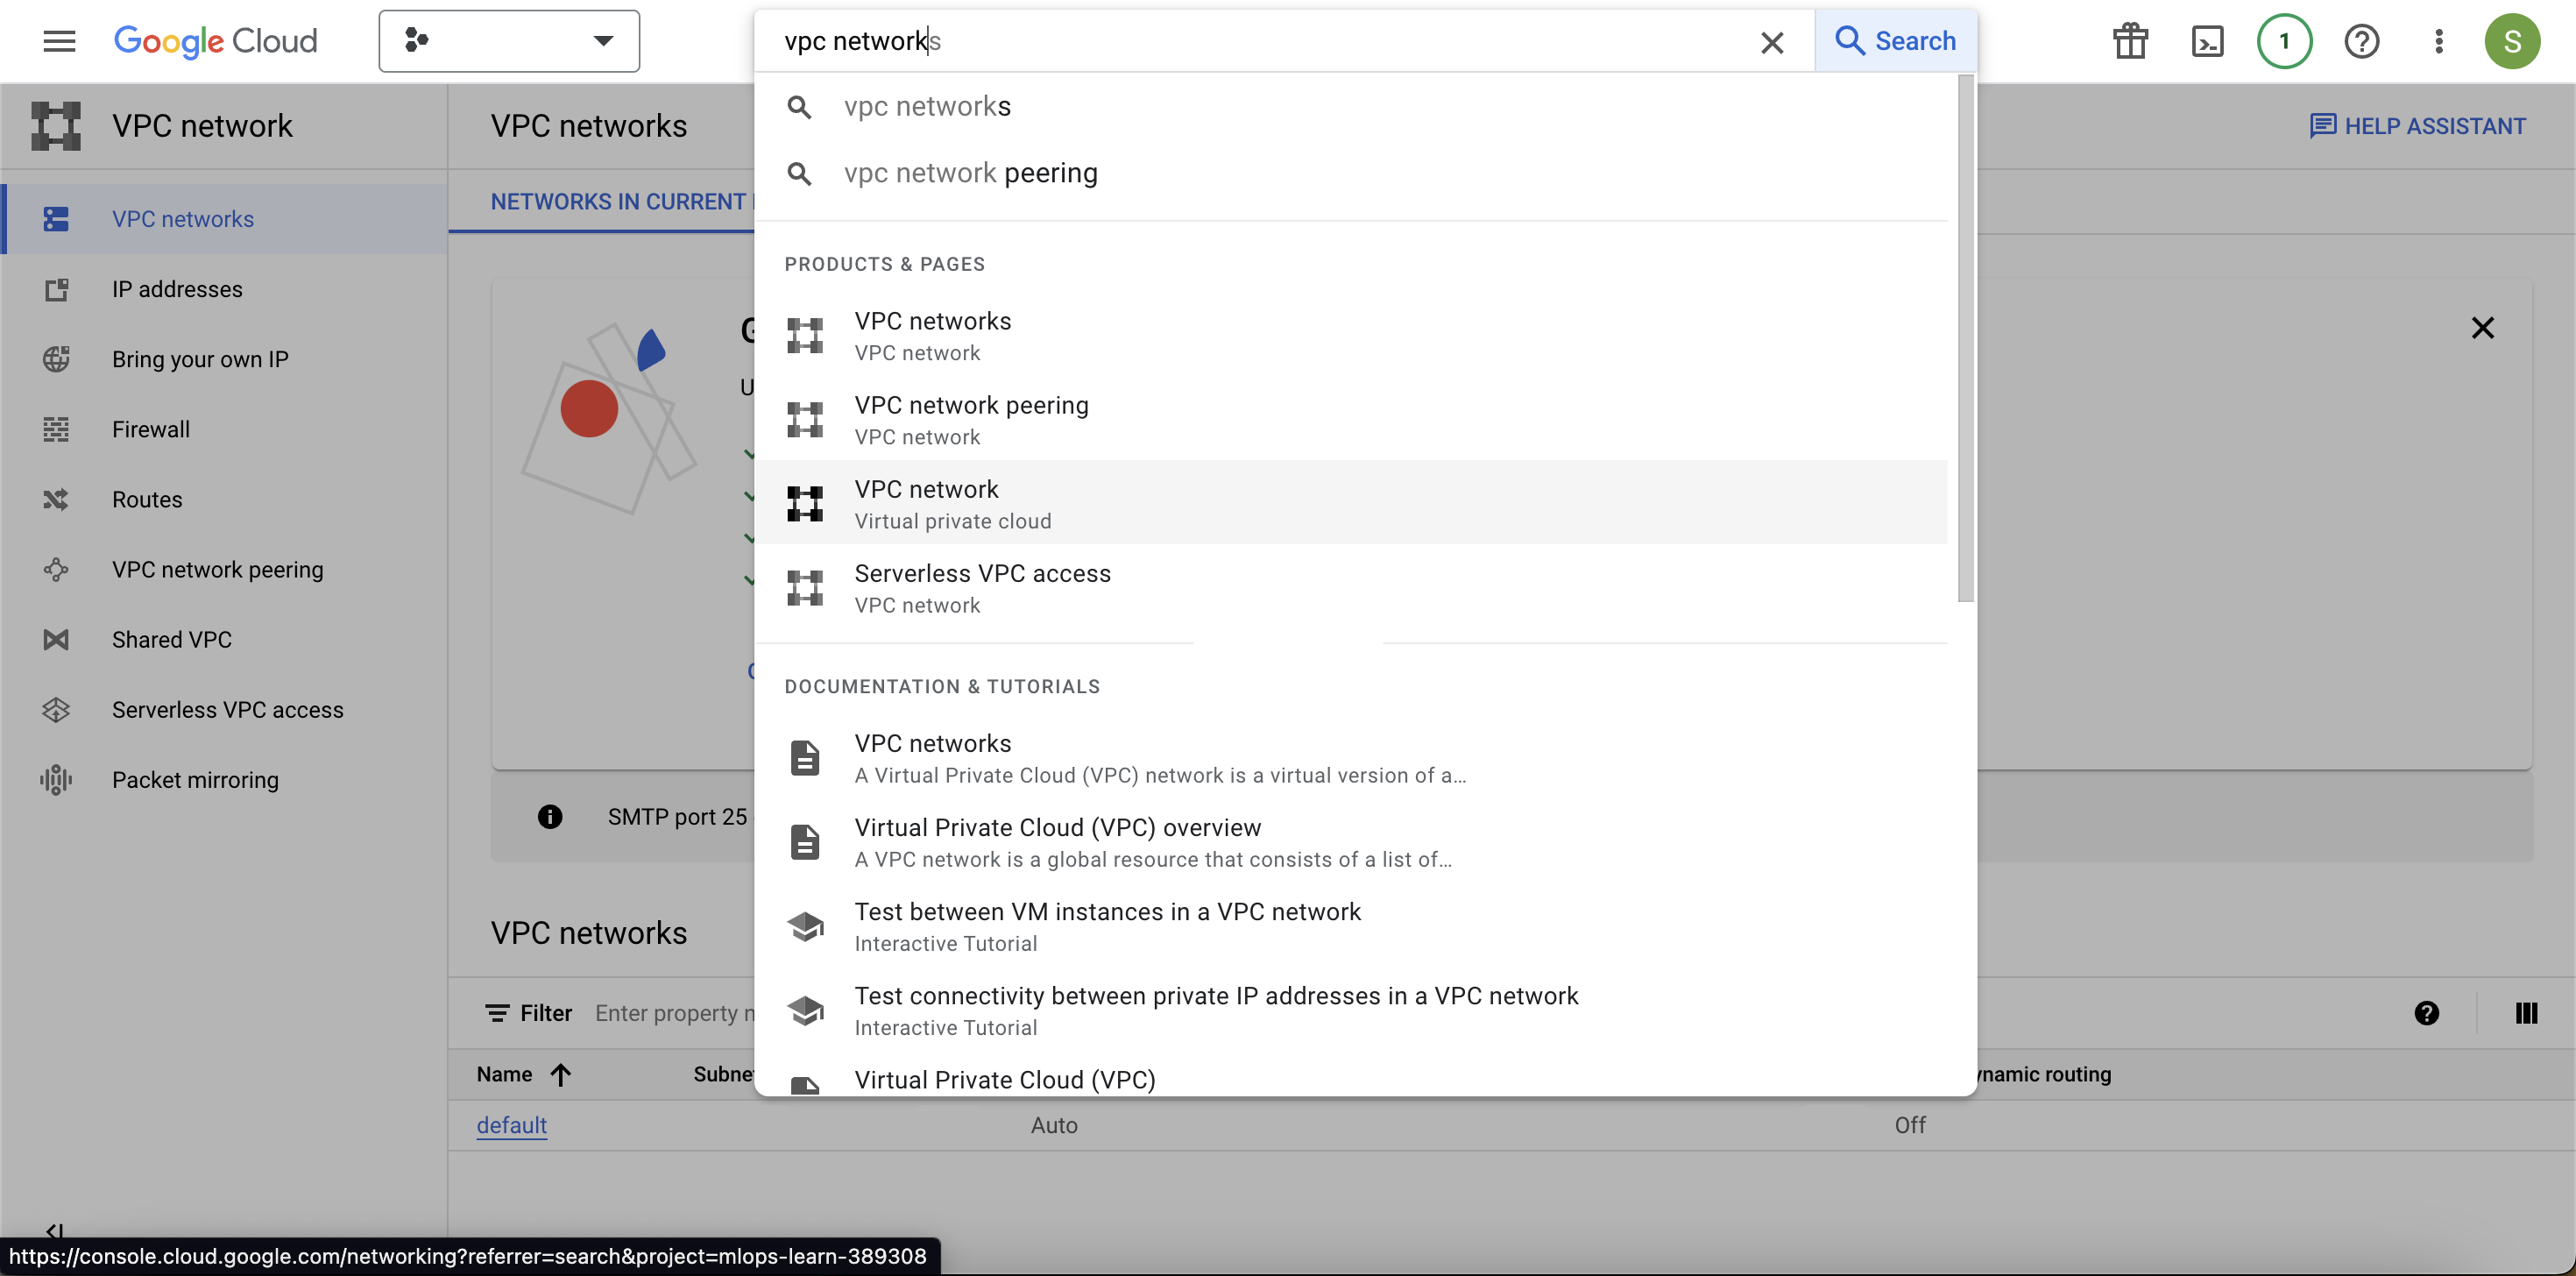
11. Next, we create an external IP address for your instance so you can connect to it from your (local) terminal.
Search VPC network in the search bar and navigate to IP addresses.
Click Reserve External Static IP Address.
Set a name for this IP address; you can leave the rest of the options at their default settings. Click Reserve.

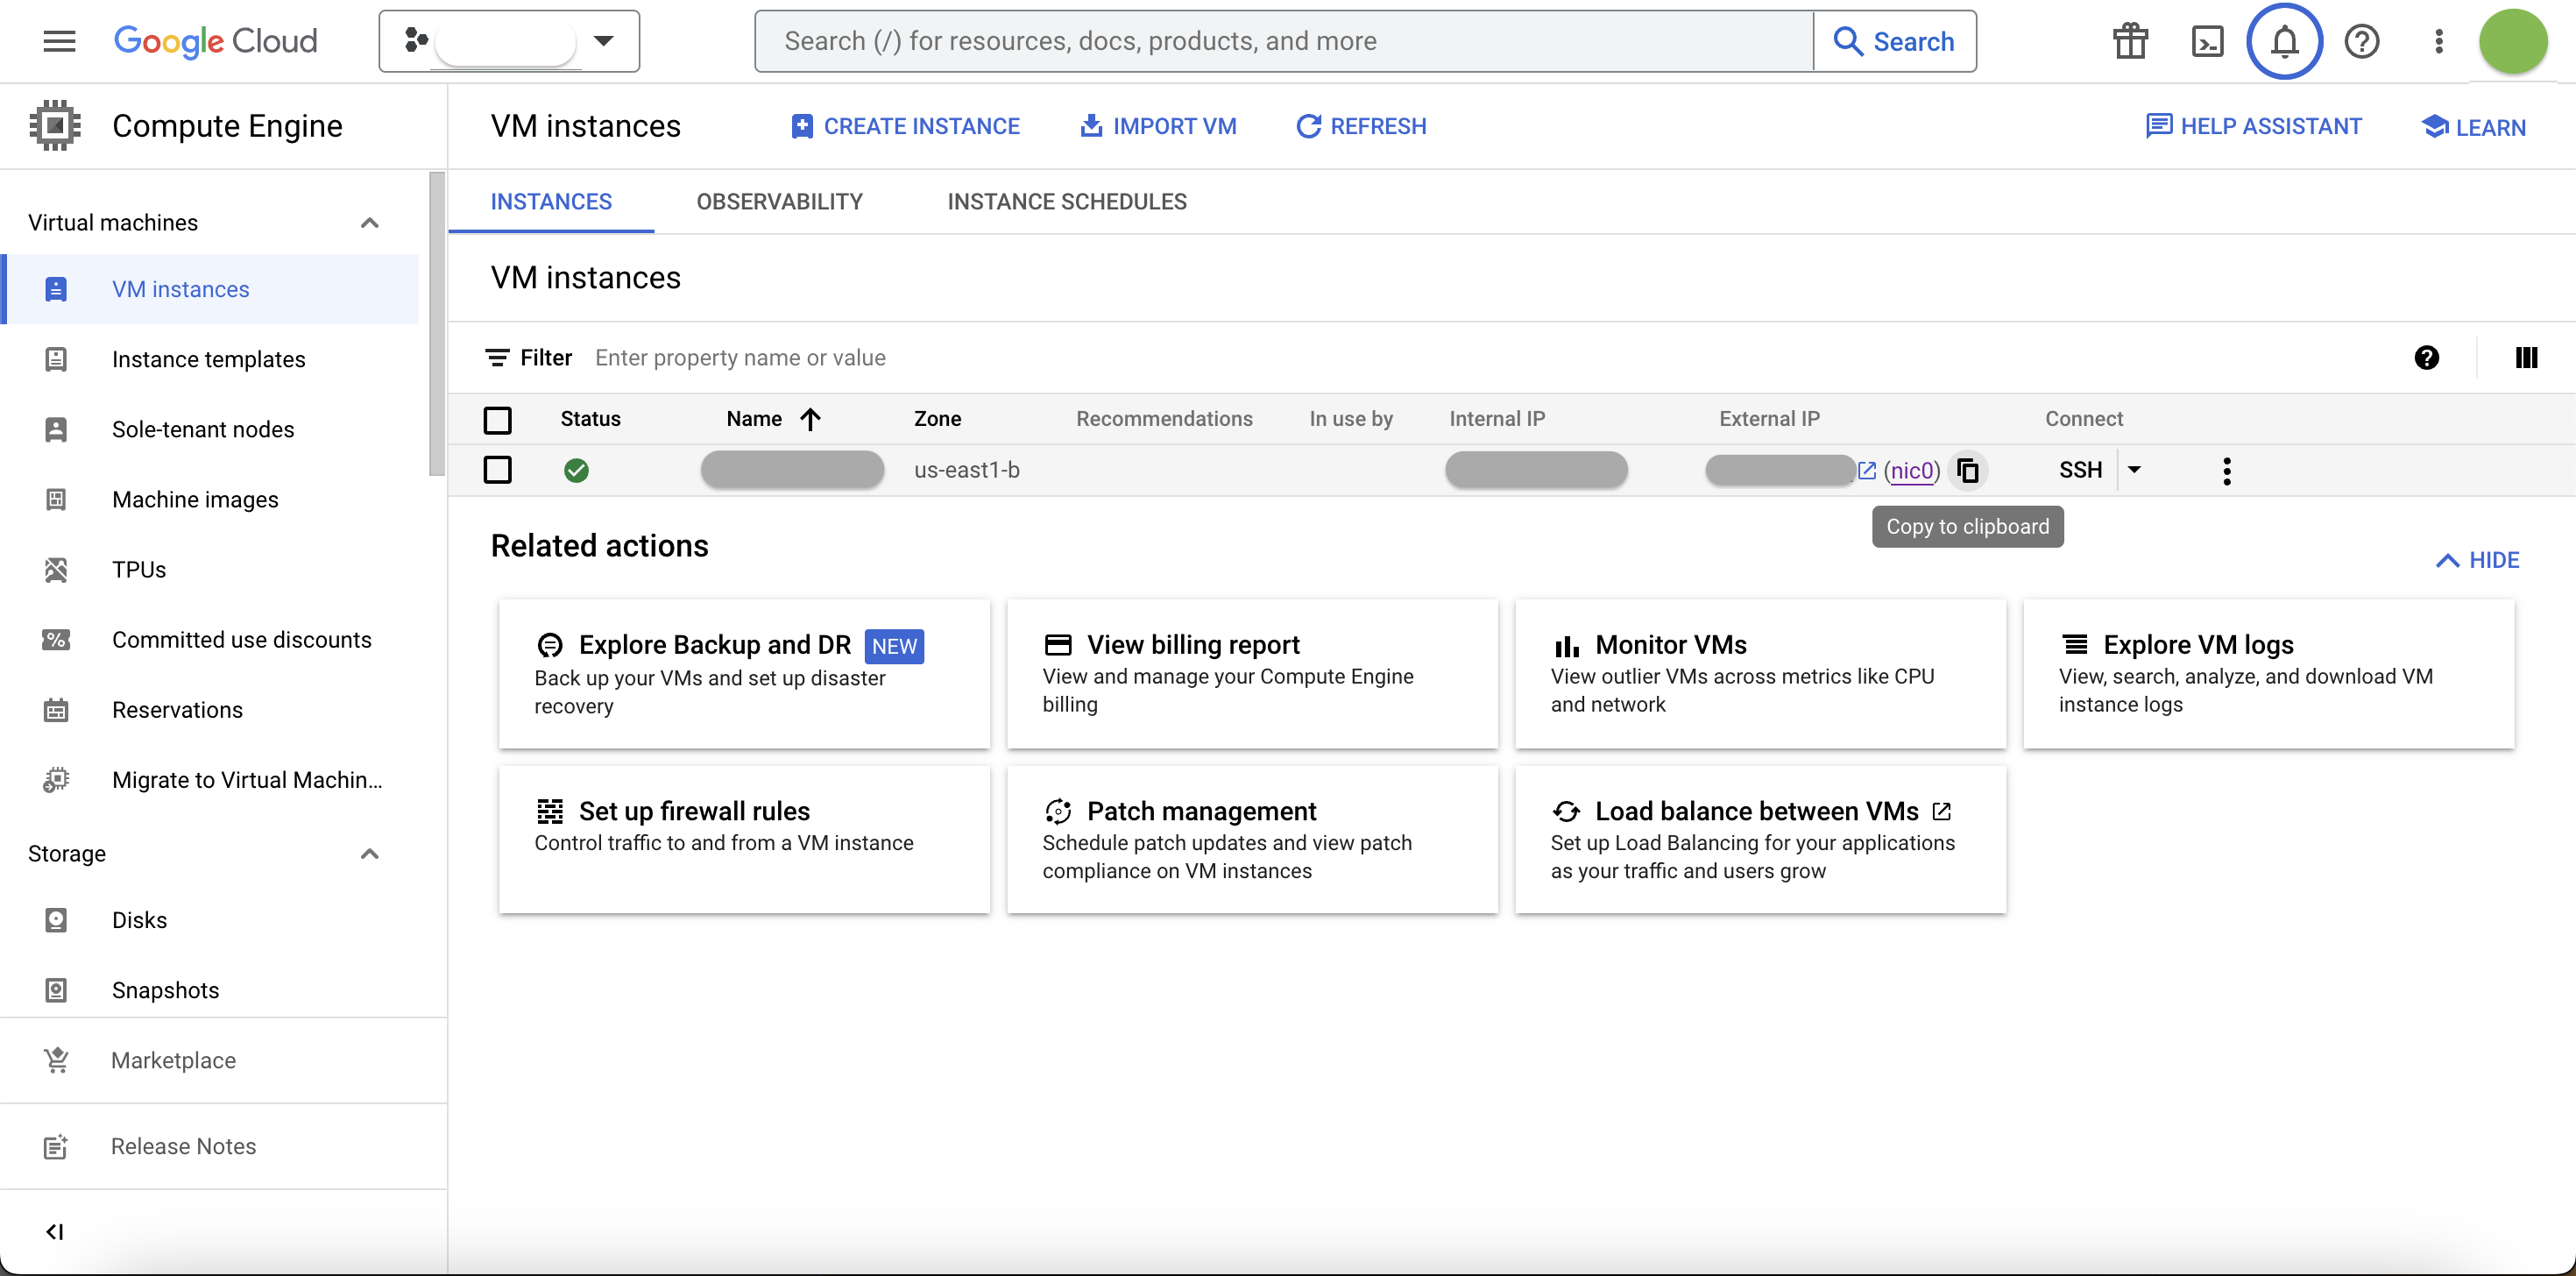
12. Go back to the VM Instances page where you should see your created instance. You can start your instance and copy your external IP address so you can connect to it.
Connect to GCP from local machine
Now you’ll need to set up SSH keys so you can connect from your local computer to your newly-created CE instance, and start using it.
1. Generate SSH Keys
Open up the terminal and type the below command to create new (if preferred) SSH keys.
ssh-keygen -t rsa -f ~/.ssh/demo-project -C <user_name>The “-t” flag specifies the type of SSH key to create, the “-f” flag specifies the name and location of your SSH keys; if you have multiple SSH keys lying around you can give a short but descriptive name here. The “-C” flag is optional, but I usually add my username there.
Running this command creates 2 key files, one public SSH key with the filename ending in “.pub” and a private SSH key. Do not reveal or paste the contents of this private key anywhere.
2. Add your public key in CE
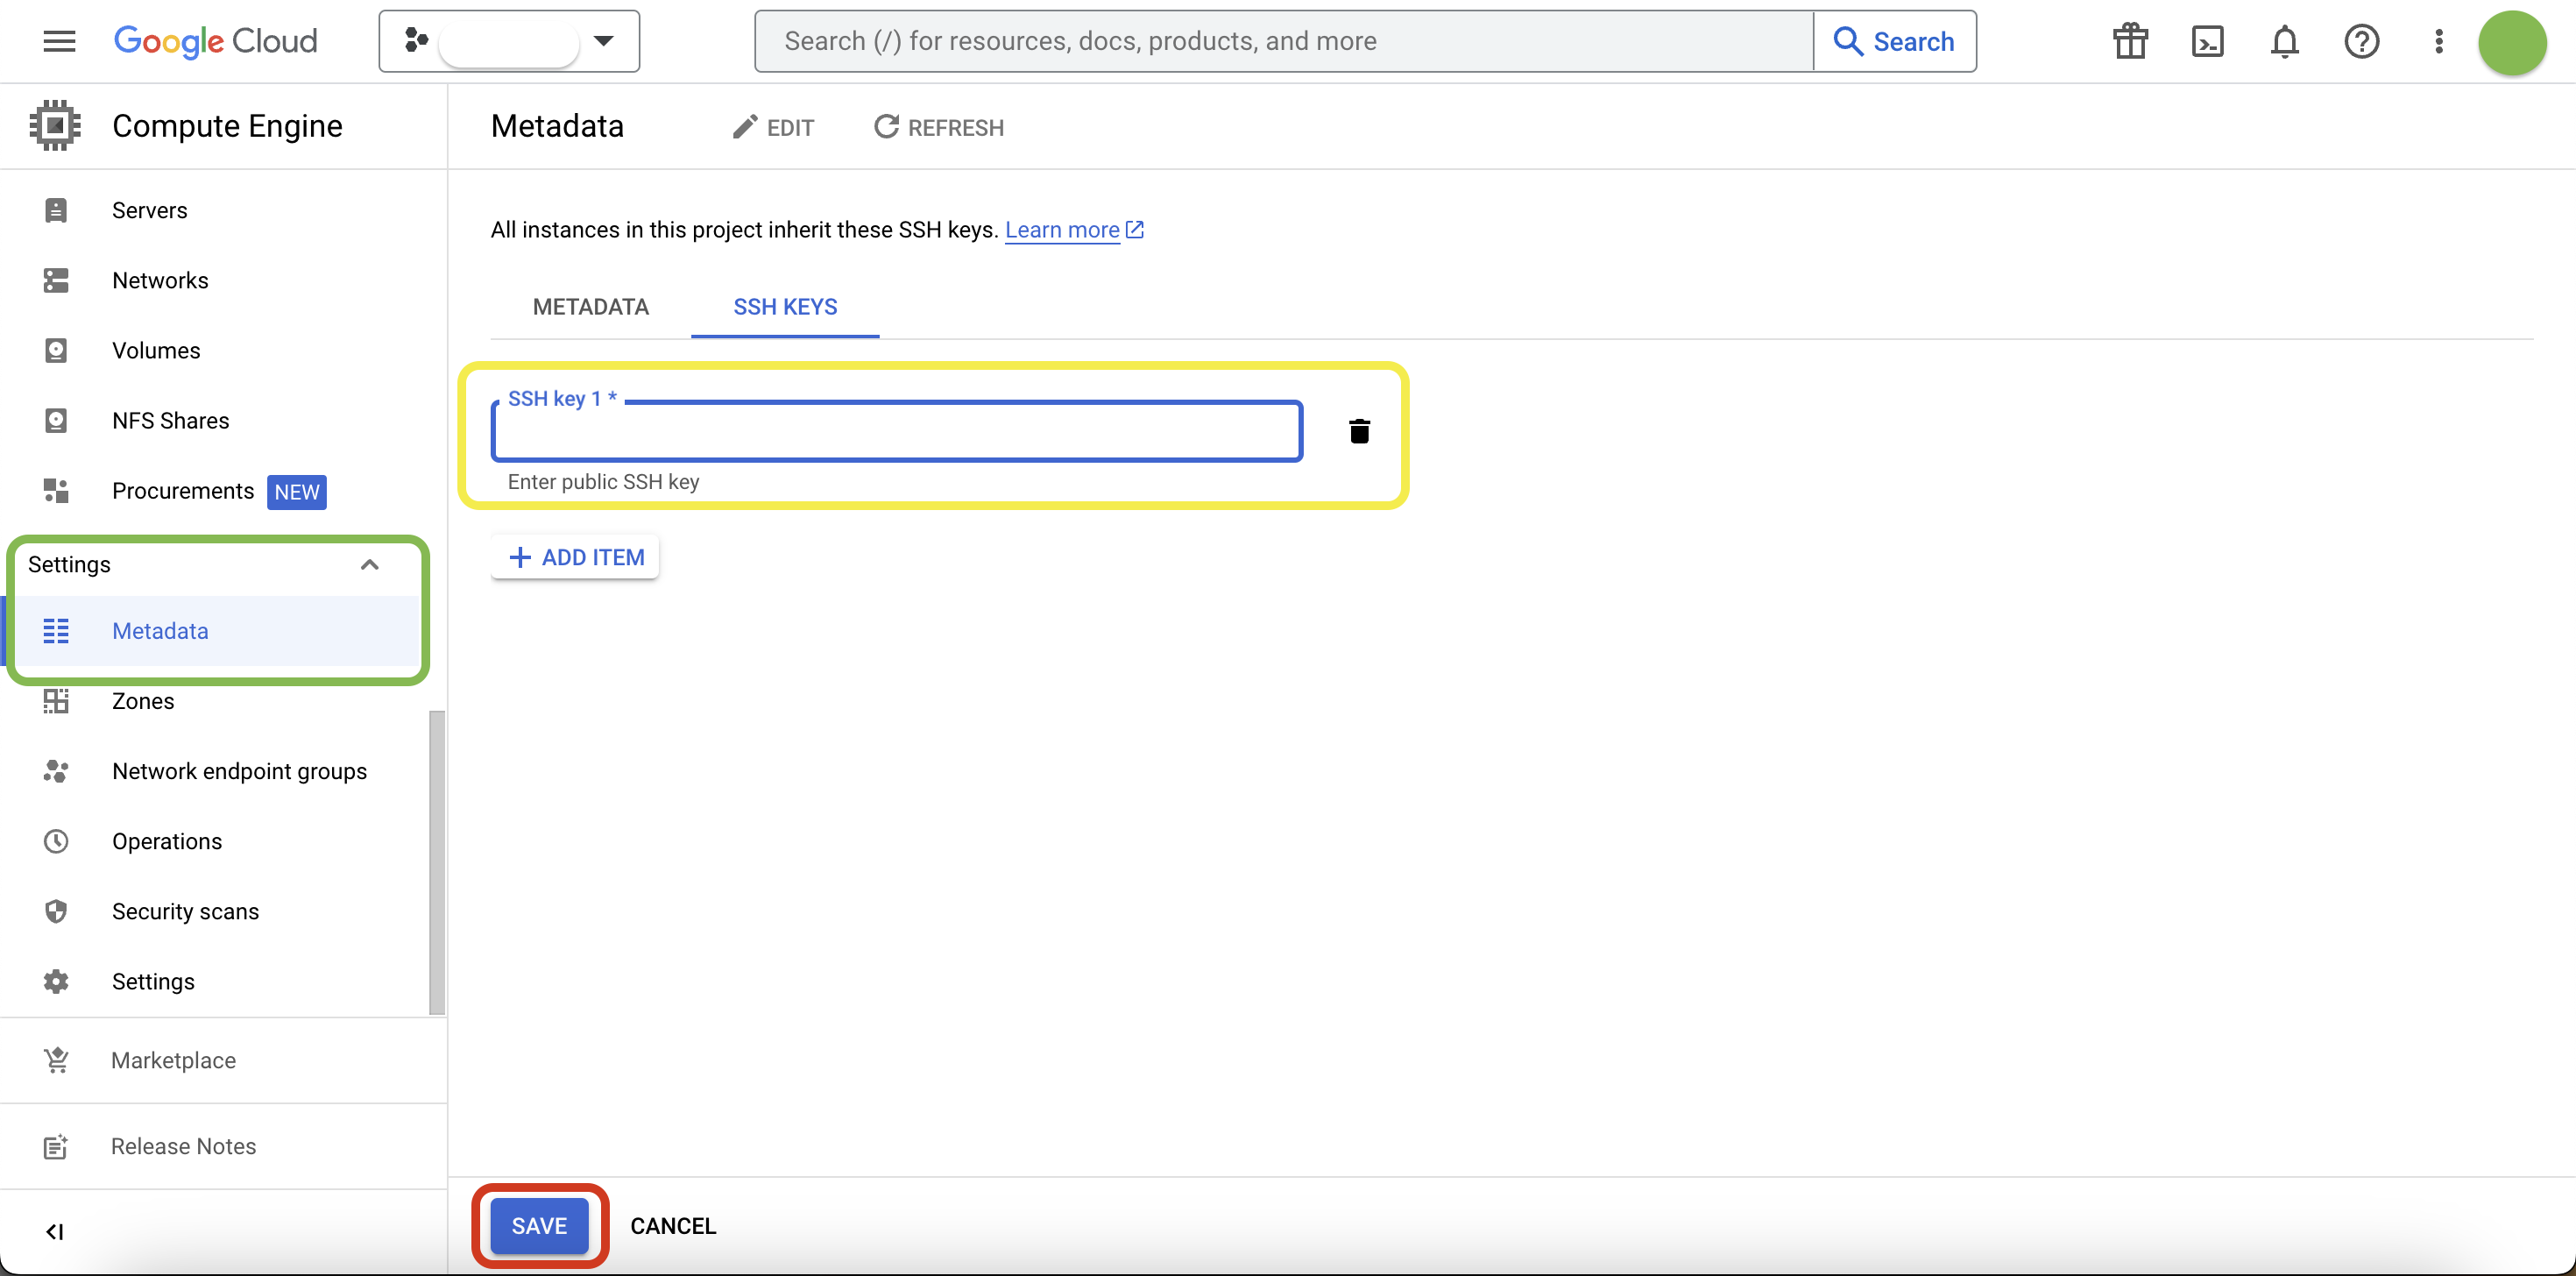
On the left sidebar, scroll down to Settings, then Metadata
Copy the contents of the public key (SSH key ending in .pub) and paste them in the box as shown. Then, click Save.
3. Connect to Compute Engine Instance
To SSH to your instance, you need to provide your private SSH key and the IP address of your CE machine.
Your private SSH key (file) will be authenticated against the public key you added in the previous step.
Type in your username and the IP address of your VM like so.
ssh -i ~/.ssh/demo-project shraddha@34.145.111.134Finish Setup
If you’ve managed to set up and connect to your instance successfully, running the above command in a terminal connects to your VM machine. It looks something like this;

You can now start setting up your development environment in GCP.
Remember to stop your instance once you finish working on it for the day; you’re billed by the second as long as the instance is turned on.
Next we will create an ML development environment in GCP, so you can start experimenting, working on notebooks etc., including experiment tracking with MLFlow and workflow orchestration with Prefect.
Stay tuned (:
Happy Programming!